Restoring Your Kitchen Cabinets from Water Damage
Restoring Your Kitchen Cabinets from Water Damage

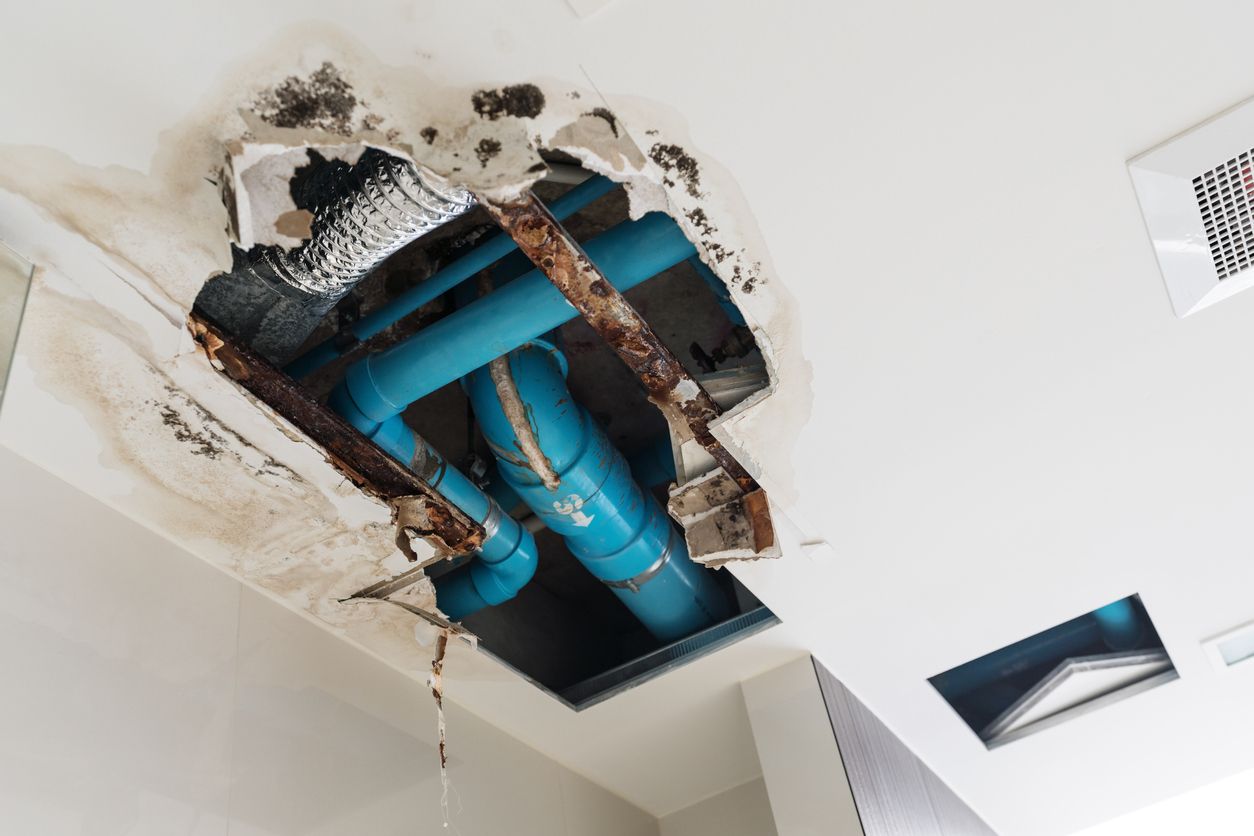
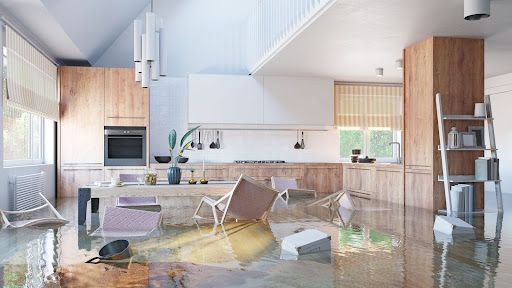
Water damage to kitchen cabinets can be a frustrating and unsightly problem. Whether it's from a leak, flood, or high humidity, damaged cabinets can impact the overall look and functionality of your kitchen. Fortunately, with the right approach, you can repair and restore your cabinets to their former glory. In this guide, we'll walk you through the steps to fix water-damaged cabinets and offer tips to prevent future damage. If you need professional help, consider reaching out to a water damage specialist for expert advice and services.
Assessing the Damage
It's important to assess the damage to understand what needs fixing. This helps in planning the repair process. Accurate assessment will guide you in repairing or replacing the right parts.
Identifying Signs of Water Damage
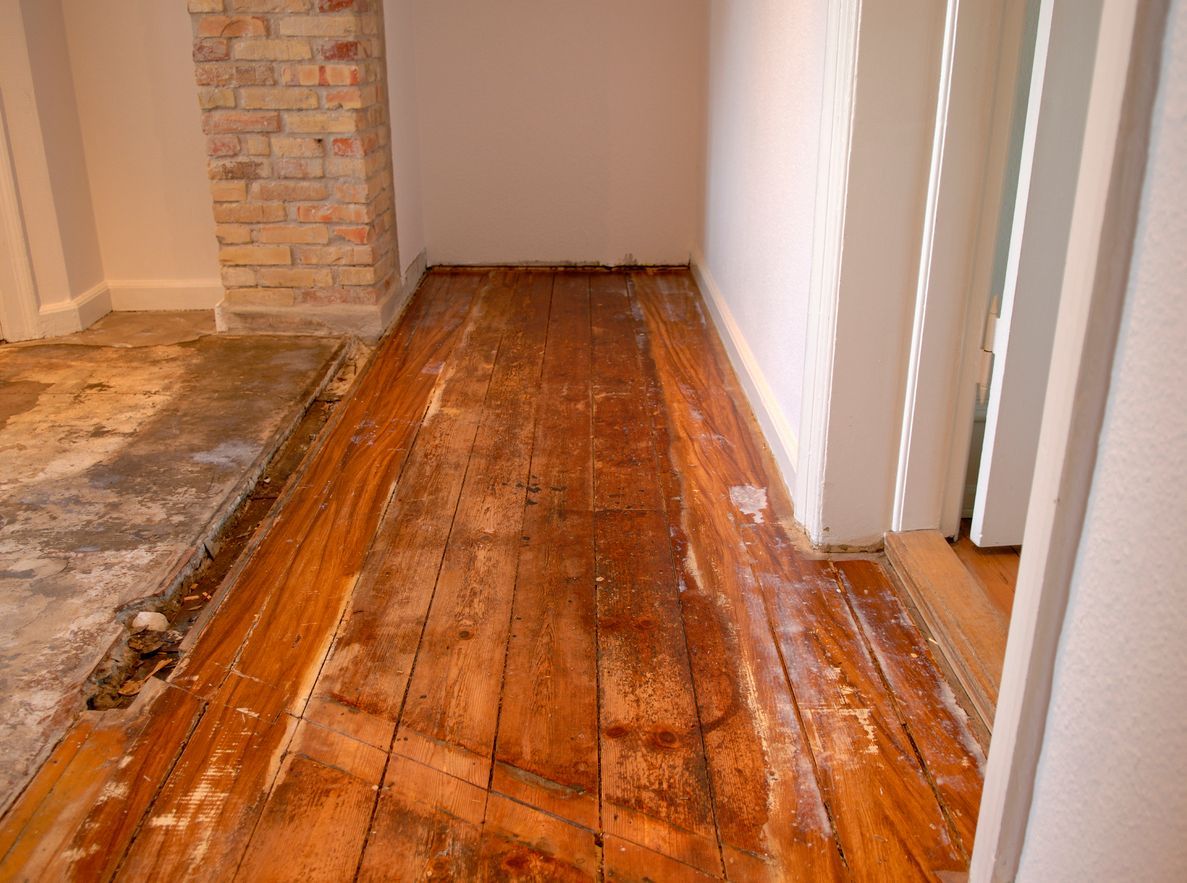
Look for visible signs like discoloration, peeling paint, or swollen wood. These are clear indicators that water has seeped into the cabinets. Mold or mildew growth is another sign. It appears as dark spots and has a musty smell. Check for bubbling or cracking on the cabinet surfaces. Warping and bending are also common signs of water damage. Identifying these early can help you take timely action to prevent further deterioration and protect other parts of your kitchen.
Determining the Extent of the Damage
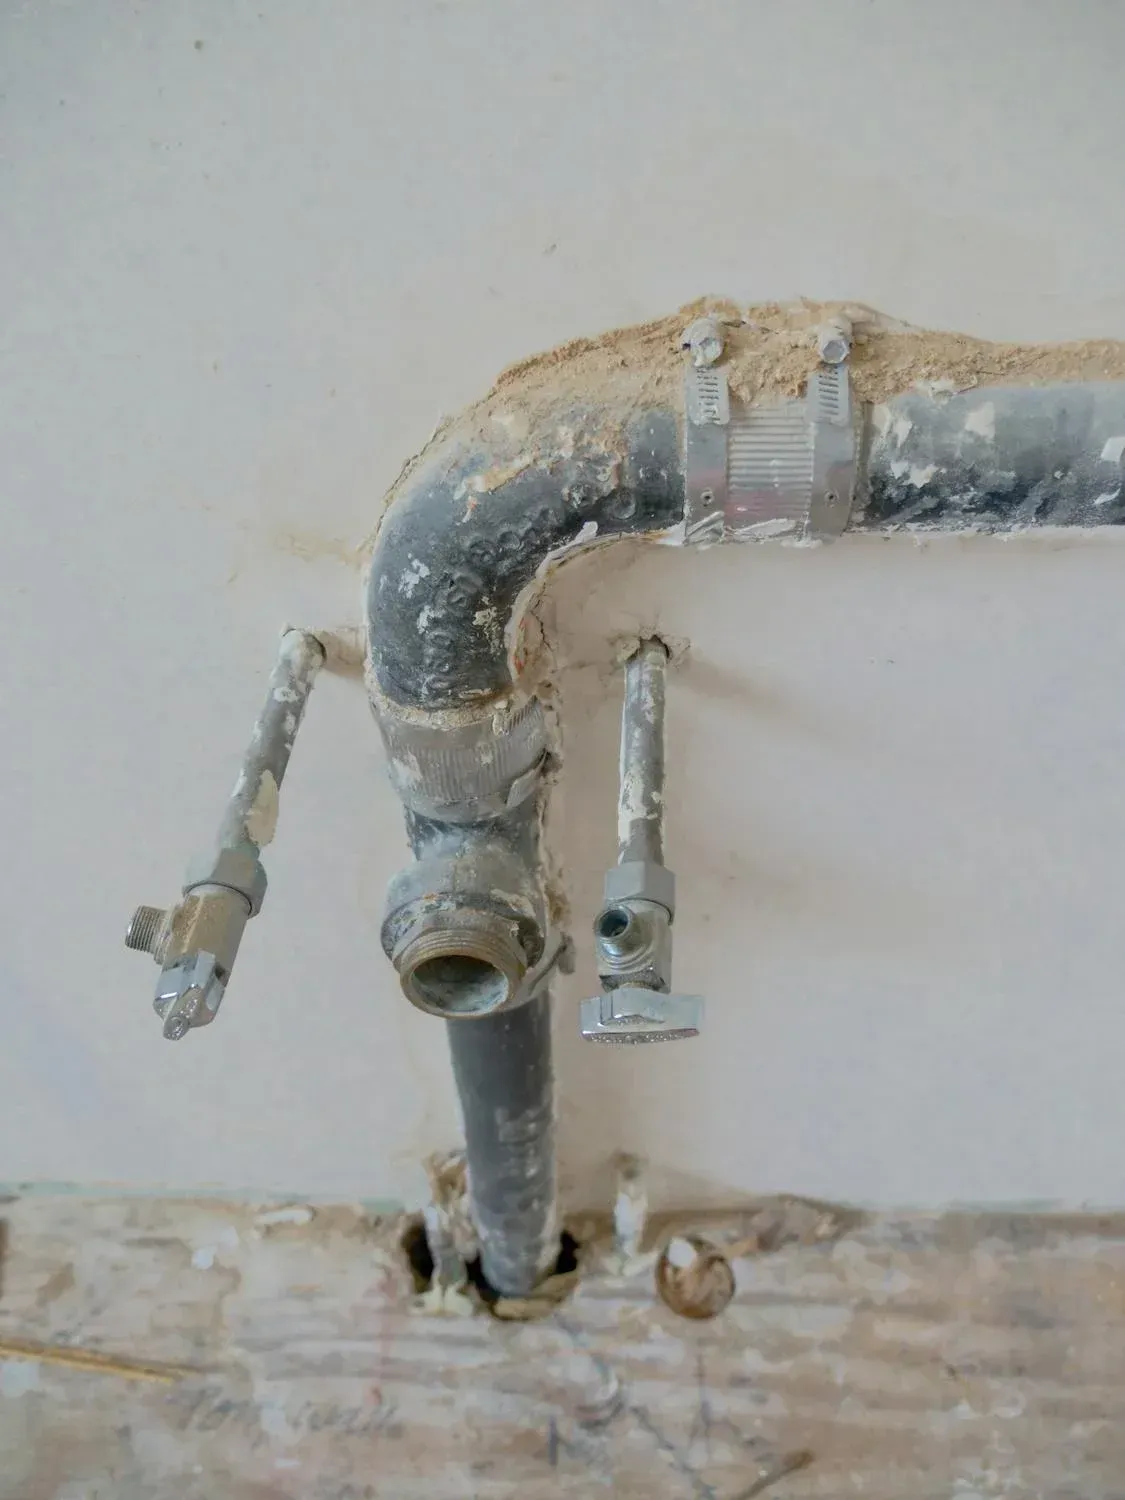
After spotting the signs, determine how deep the damage goes. Press on the wood to see if it's soft or spongy. This indicates that the water has penetrated deeply. Check the cabinet interiors and nearby areas for damage spread. Look underneath the cabinets and behind them, if possible, for hidden damage. Inspect the base and sides for any signs of rot or mold. This step helps you understand how much repair work is needed and whether you need to replace any parts.
Removing the Damaged Areas
Removing the damaged areas is crucial to ensure the integrity of your kitchen cabinets. This step involves detaching the affected cabinets and thoroughly cleaning and drying the area to prevent further damage.
Detaching Affected Cabinets
Start by emptying the cabinets and removing all contents. Use a screwdriver to remove the screws holding the cabinet to the wall. Carefully detach the cabinet to avoid further damage to surrounding areas. If the cabinet is heavy, get help to lift it down safely. Mark the location of each screw for easier reinstallation later. This step allows you to work on the damaged parts without affecting the rest of the kitchen.
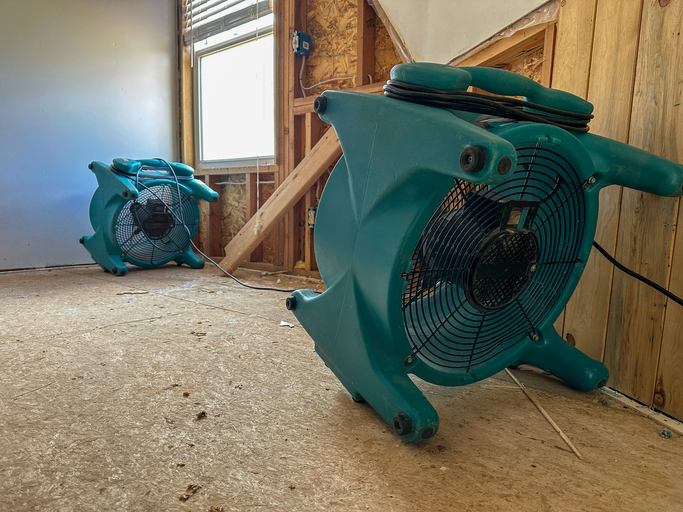
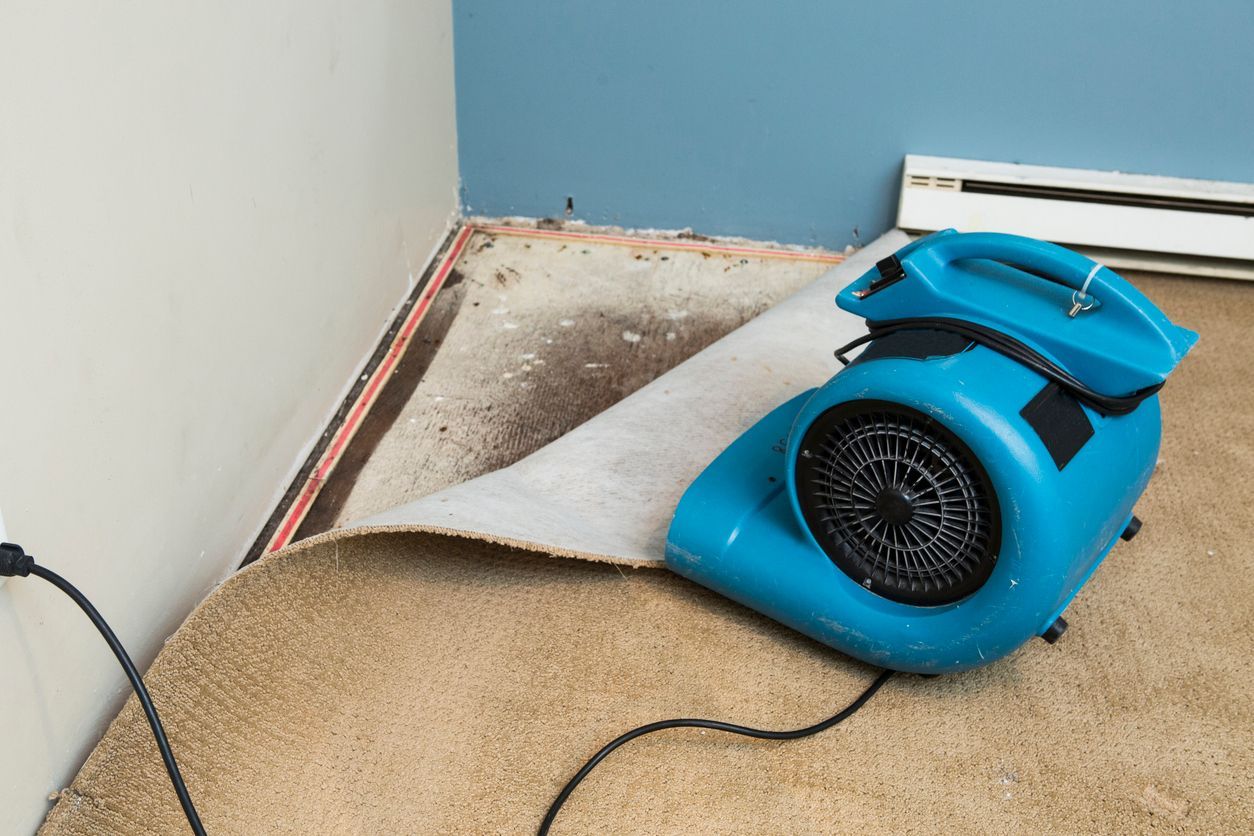
Cleaning and Drying the Area
Once the damaged cabinets are removed, clean the area thoroughly. Use a mixture of water and mild detergent to scrub away any dirt, mold, or mildew. Rinse with clean water and dry the surfaces with a clean cloth. Use fans or a dehumidifier to dry the area completely. Make sure all moisture is gone to prevent mold from growing back. Proper cleaning and drying are essential to prepare the area for repairs and to maintain a healthy kitchen environment.
Repairing and Replacing Components
Repairing and replacing damaged components is essential to restore the functionality and appearance of your kitchen cabinets. This involves fixing warped wood and replacing moldy or rotted sections to maintain durability.
Fixing Warped Wood
To fix warped wood, start by removing the warped sections carefully. Lay the warped wood flat and place heavy objects on top to flatten it. Leave it for several days to allow it to straighten. If the warp is severe, consider using clamps and damp towels to speed up the process. For minor warps, sanding the surface can help smooth out the uneven areas. Once the wood is straightened, reattach it securely to the cabinet frame, making sure it fits well and is stable.
Replacing Moldy or Rotted Sections
If sections of the cabinet are moldy or rotted, it's important to replace them entirely. Cut out the affected areas using a saw and smooth the edges. Measure the space and cut new pieces of wood to fit. Treat the new wood with a mold-resistant primer before installation. Secure the new sections in place with screws or wood glue. Make sure there are no gaps where moisture can seep in again. This step helps maintain the cabinet’s structural integrity and prevents future mold growth.
Refinishing and Repainting
Refinishing and repainting your cabinets give them a fresh, new look. This process includes sanding and smoothing surfaces, followed by applying primer and paint for a durable finish.
Sanding and Smoothing Surfaces
Start by sanding the surfaces of the cabinets to remove old paint or varnish. Use medium-grit sandpaper for this step. Sand evenly to ensure a smooth finish. Once the old layers are removed, switch to fine-grit sandpaper to smooth the surface further. Pay attention to edges and corners to avoid rough spots. Wipe down the cabinets with a damp cloth to remove all dust and debris. This step is crucial for preparing the surface for painting.
Applying Primer and Paint
After sanding, apply a coat of primer to the cabinet surfaces. Primer helps the paint adhere better and provides a uniform base. Allow the primer to dry completely, following the manufacturer’s instructions. Once dry, apply the first coat of paint using a brush or roller. Use even strokes to avoid streaks and bubbles. Let the first coat dry before applying a second coat for better coverage. Choose a paint that is suitable for kitchen use, such as a durable, washable type. This will help keep your cabinets looking fresh for a long time.
Preventing Future Water Damage
Preventing future water damage is essential to keep your kitchen cabinets in good condition. This involves installing proper ventilation and using waterproof sealants.
Installing Proper Ventilation
Proper ventilation reduces moisture levels in your kitchen. Install an exhaust fan to remove excess humidity, especially when cooking or using hot water. Allow good airflow by keeping windows open or using a dehumidifier. Check that your ventilation system works properly and clean it regularly. Good ventilation prevents condensation, which can lead to water damage over time.
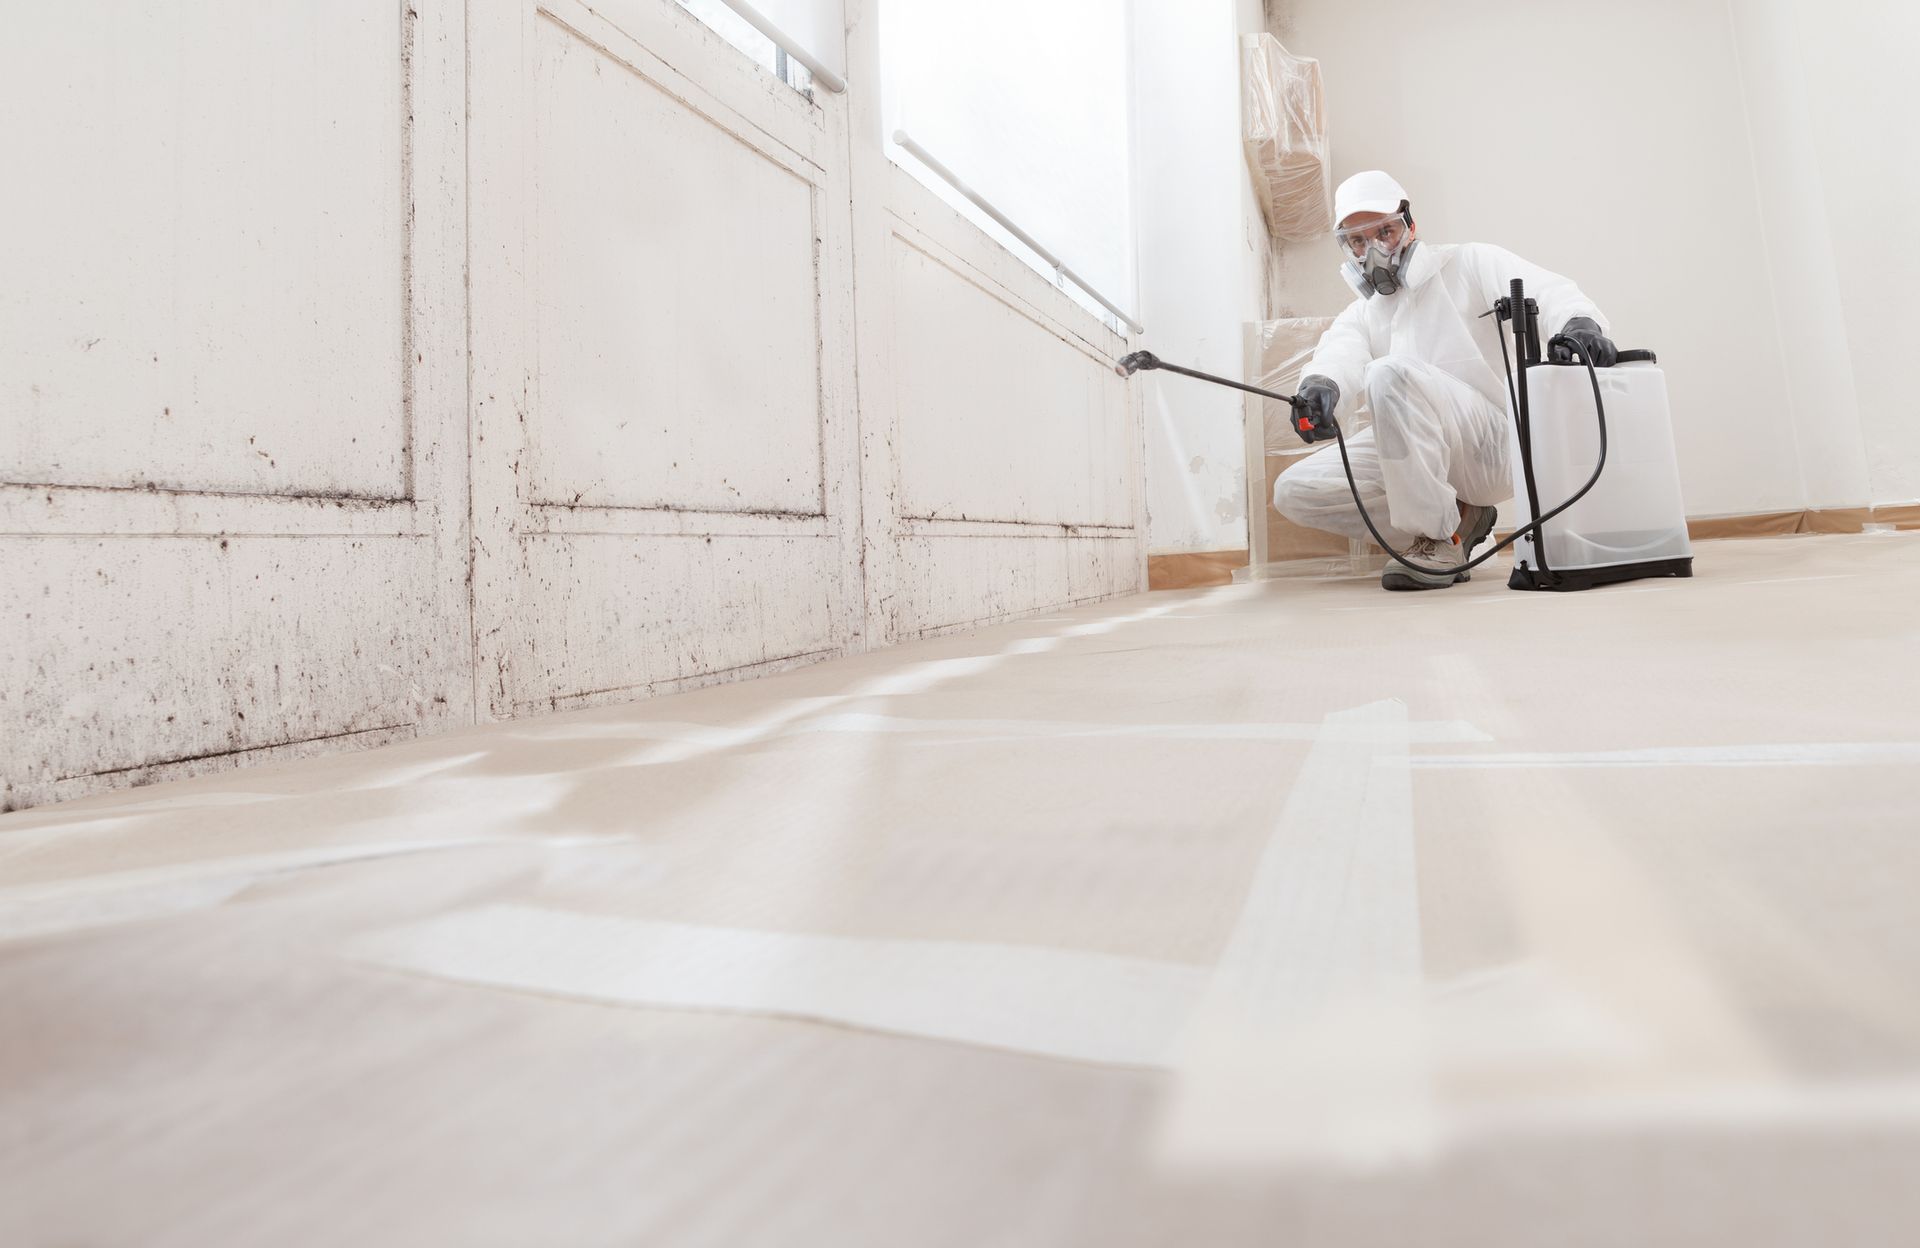
Using Waterproof Sealants
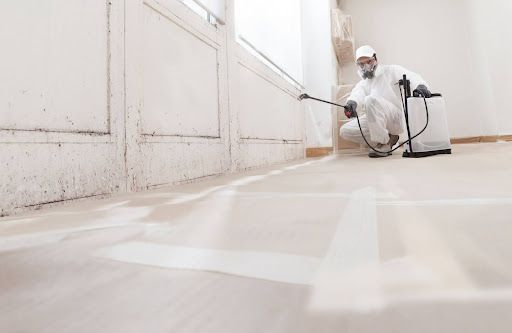
Applying waterproof sealants to your cabinets adds extra protection against water damage. Use sealants on all surfaces, including edges and joints, where water can seep in. Choose a high-quality, kitchen-grade sealant designed to withstand moisture. Apply the sealant according to the manufacturer’s instructions and allow it to dry completely. Reapply the sealant periodically to maintain its effectiveness. This helps keep your cabinets dry and extends their lifespan.
Restoring Your Kitchen Cabinets Made Easy
Water-damaged kitchen cabinets can be a hassle, but you can restore them with patience and the right techniques. First, assess the damage to see what needs fixing. Remove damaged parts and clean and dry the area thoroughly before starting repairs. Use quality materials to repair or replace damaged sections, then refinish and repaint for a polished look. Finally, take steps to prevent future issues. Proper ventilation and waterproof sealants can protect your cabinets from further water damage. This keeps your kitchen looking great and functioning well. For more help, a water damage specialist can provide professional assistance and peace of mind.
Contact Verg Restoration for Your Water Damage Needs
If you need help with water damage in your home, Verg Restoration is here to assist. Located at 8618 NE 13th Ave, Vancouver, WA, 98665, we offer expert services to restore your kitchen cabinets and more. Reach out to us at (360) 818-4644 or visit https://www.vergrestoration.com/ for more information. Our team is ready to provide the support you need to get your home back in shape. Don't wait, contact us today for reliable water damage repair and restoration services.