Fixing Water-Damaged Popcorn Ceilings: A Step-by-Step Guide
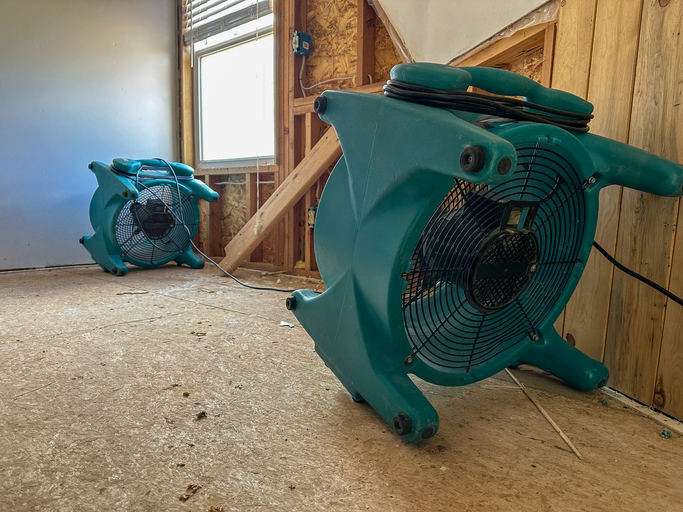
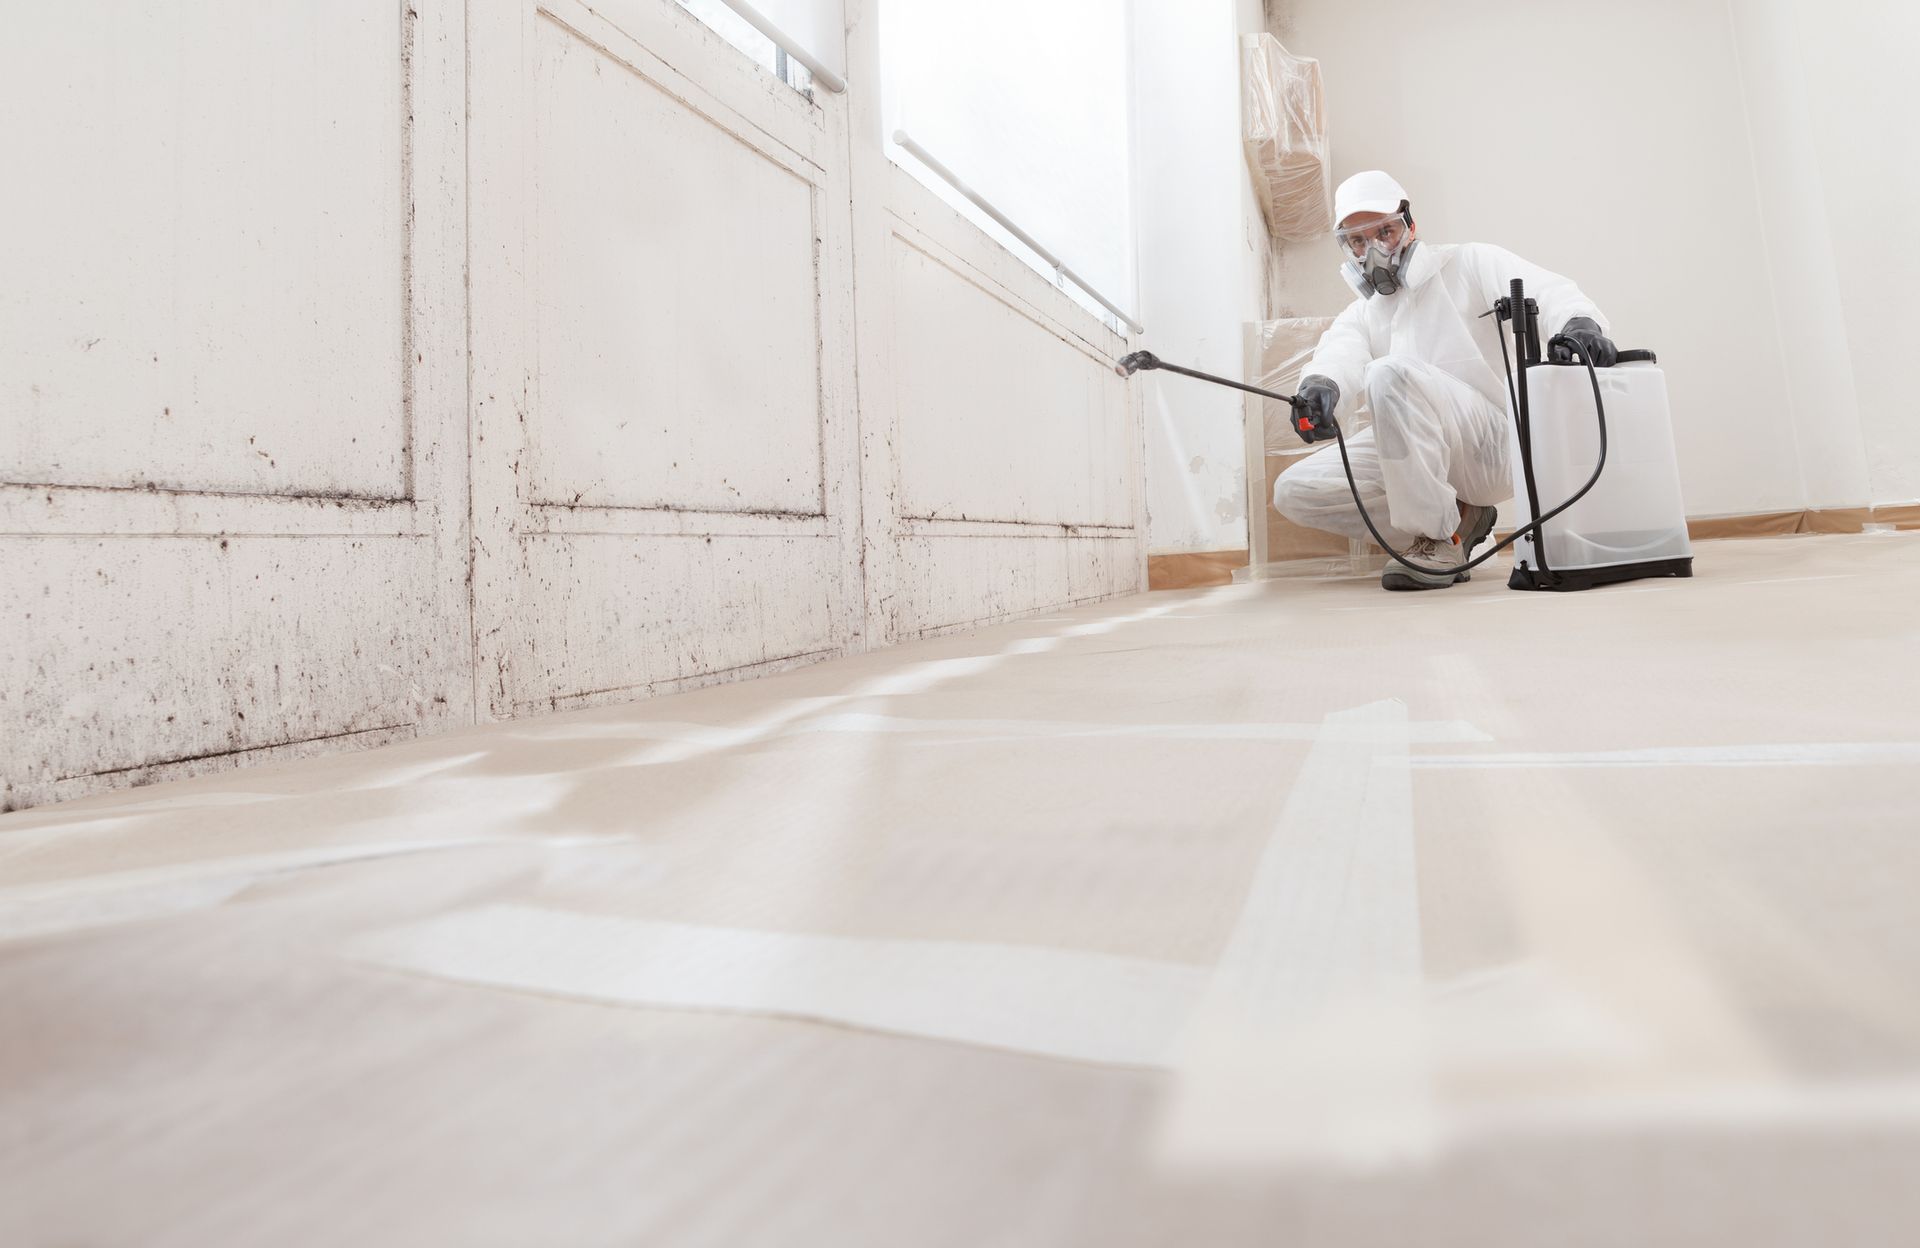
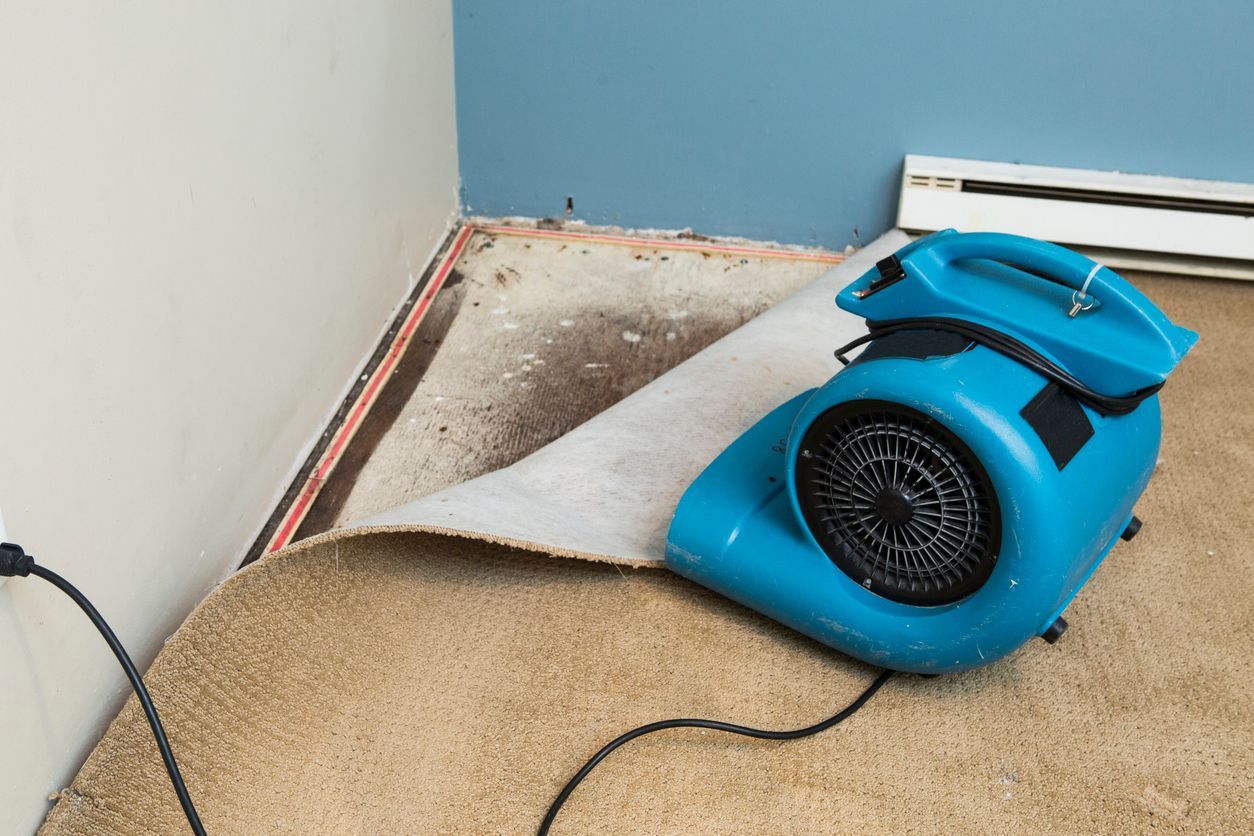
Dealing with water damage on a popcorn ceiling can be a daunting task, but with the right approach, it’s manageable. Whether it's a minor stain or more extensive damage, knowing how to address the problem effectively can save you time and money. If the damage is severe, you might need a professional disaster restoration service. However, minor repairs can be handled on your own with some basic steps and tools. By following the instructions carefully, you can restore your ceiling to its former glory without too much hassle.
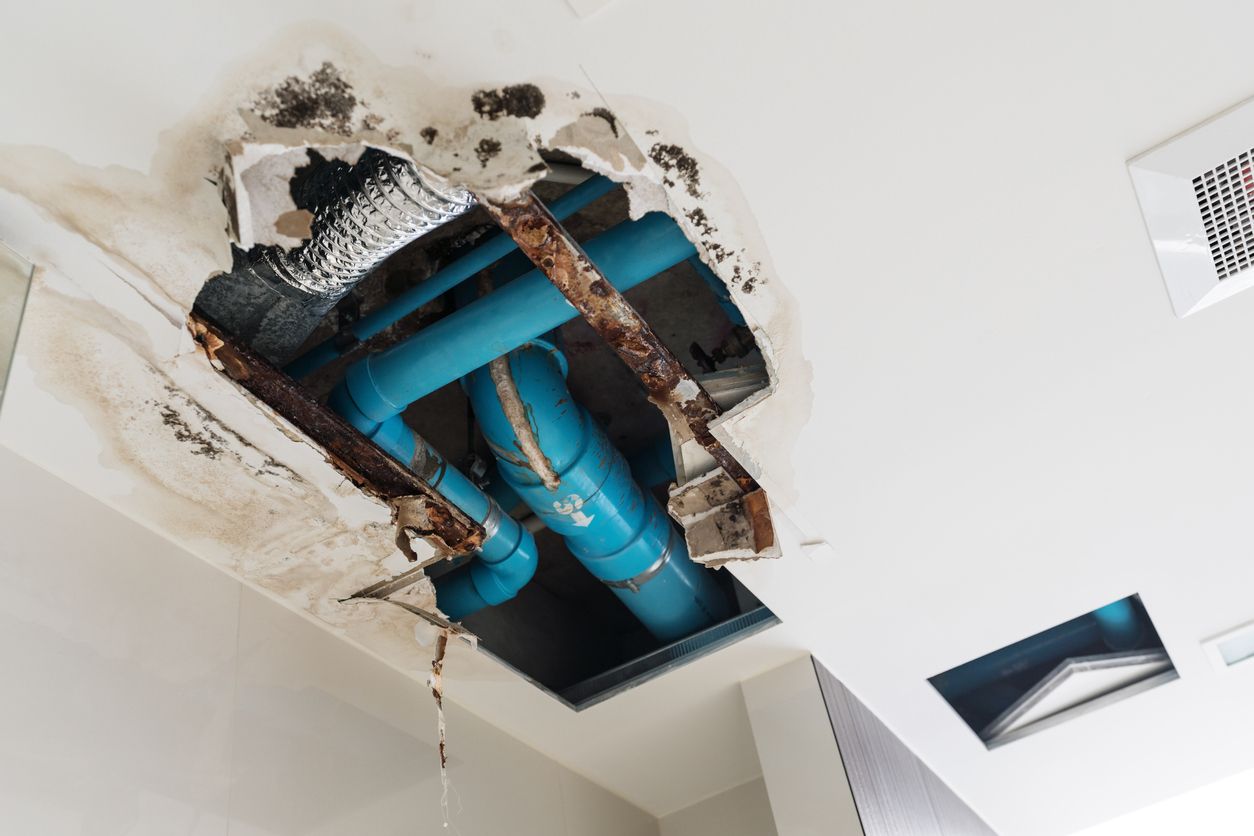
Assessing the Damage
Water damage on a popcorn ceiling can vary in severity. It’s essential to assess the extent of the damage before deciding on the repair method.
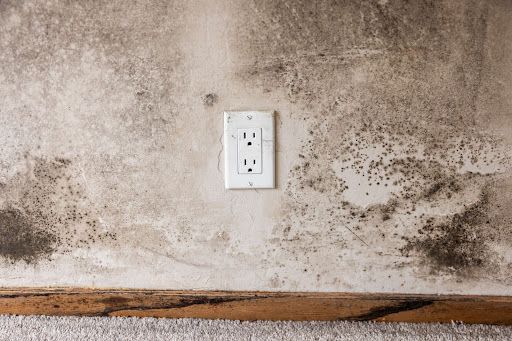
Identifying Stains and Discoloration
Look for yellow or brown stains, which indicate water damage. These can often be treated with a simple cleaning solution. Cleaning the area with a mixture of water and mild detergent can help remove these stains. Make sure to dry the area completely after cleaning to prevent further water damage. If the stains persist, a stain-blocking primer may be necessary before repainting.
Checking for Structural Damage
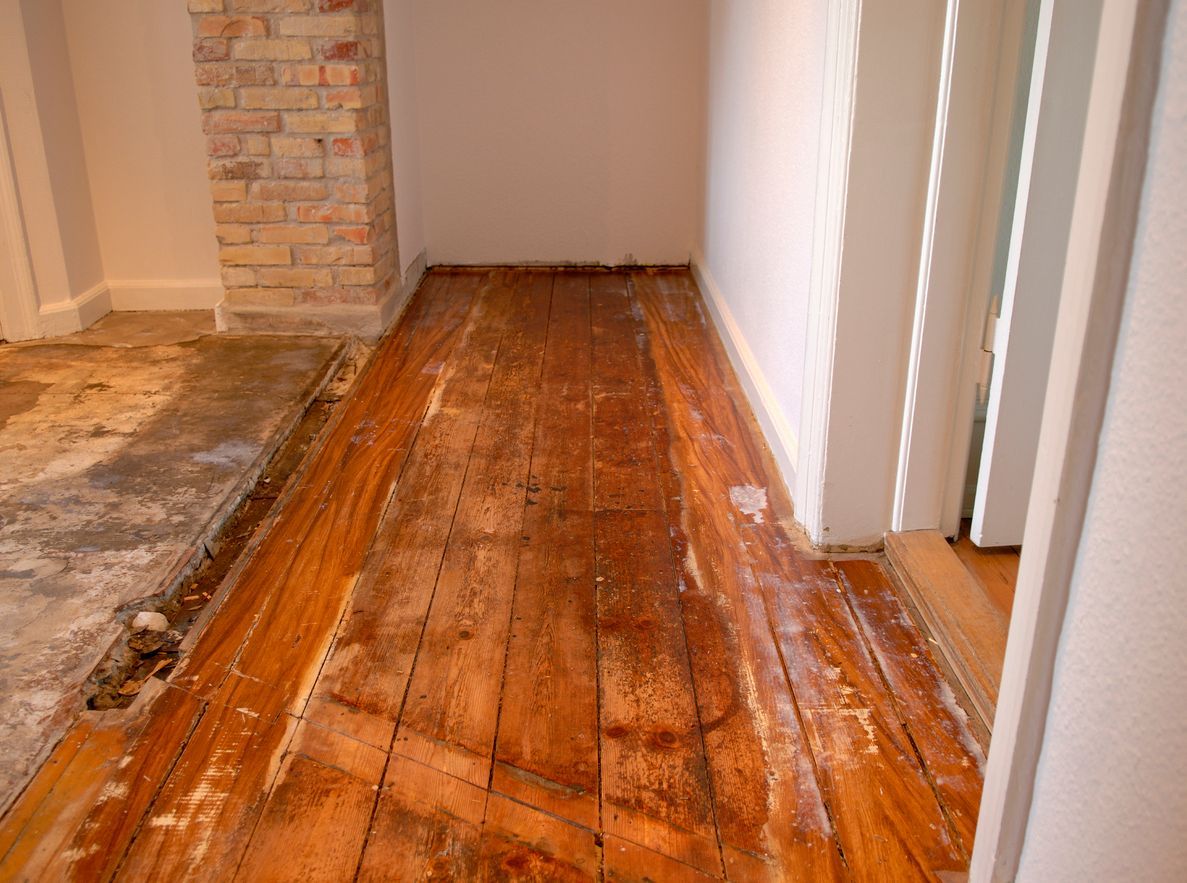
Examine the ceiling for any signs of sagging or crumbling. Structural damage may require more extensive repairs or professional help. Press gently on the ceiling to check for soft spots, which can indicate weakened material. If the ceiling feels spongy or if pieces crumble easily, the damage is likely severe. In such cases, replacing the damaged section or consulting a professional may be the best course of action to ensure safety and proper repair.
Gathering Necessary Materials
Before you begin repairs, gather all the necessary tools and materials. This will make the process smoother and more efficient.
Essential Tools
You'll need a putty knife, sandpaper, primer, paint, and a spray texture for popcorn ceilings. The putty knife is essential for scraping away any loose or damaged material. Sandpaper helps smooth the surface before applying a new texture or paint. Primer prepares the area for painting, ensuring better adhesion and coverage. Choose a paint that matches your ceiling color. Lastly, a spray texture will help replicate the popcorn finish, blending the repaired area with the rest of the ceiling.
Safety Equipment
Don’t forget to wear safety goggles and a dust mask to protect yourself from debris and dust. Safety goggles shield your eyes from falling particles, while a dust mask prevents inhalation of harmful dust and chemicals. When working overhead, it’s easy for debris to fall into your face, making these items crucial for safety. Additionally, wearing gloves can protect your hands from sharp edges and irritants in the materials you’re handling. Always prioritize safety to avoid injuries during the repair process.
Preparing the Area
Proper preparation is key to a successful repair. Make sure to protect your furniture and floor from debris and dust.
Covering Furniture and Flooring
Use plastic sheeting or drop cloths to cover furniture and floors, ensuring they stay clean during the repair process. Secure the coverings with tape to prevent them from shifting. This helps in catching all the debris and dust that may fall during scraping and sanding. Proper covering makes cleanup easier and prevents any damage to your belongings, saving you from extra work after the repair is done.
Ventilating the Room
Ensure the room is well-ventilated to avoid inhaling any harmful particles or fumes from the repair materials. Open windows and doors to allow fresh air to circulate, or use fans to improve airflow. Proper ventilation helps in reducing the concentration of dust and fumes, making the work environment safer. It also aids in the drying process of paints and primers, ensuring a smooth finish on your repaired ceiling
Repairing the Damage
Once everything is prepared, you can begin the repair process. Follow these steps to fix the damage effectively.
Cleaning the Stained Area
Use a mild detergent and water to clean the stained area. This will help the new paint adhere better. Gently scrub the area with a sponge or cloth, making sure to remove all dirt and residue. After cleaning, rinse with clean water and allow the area to dry completely. This step ensures a smooth surface for the primer and paint, helping achieve a professional-looking finish.
Applying a Stain-Blocking Primer
Apply a stain-blocking primer to prevent any water stains from showing through the new paint. Use a brush or roller to cover the damaged area thoroughly. The primer creates a barrier that stops stains from bleeding through, ensuring your ceiling looks fresh and clean. Let the primer dry according to the manufacturer’s instructions before applying paint. This step is crucial for seamless repair and long-lasting results.
Repainting and Texturing
After the primer has dried, it’s time to repaint and retexture the ceiling to match the existing finish.
Painting the Ceiling
Use paint that matches your ceiling color. Apply it evenly for a uniform look. Start by cutting in around the edges with a brush, then use a roller for the main area. Make sure to apply thin, even coats to avoid drips and uneven coverage. Let the first coat dry completely before applying a second coat if needed. This will ensure a smooth, consistent finish that blends seamlessly with the rest of the ceiling.
Applying Popcorn Texture
Use a spray texture that matches the existing popcorn ceiling. Practice on a piece of cardboard first to get the hang of it. Shake the can well and apply the texture in short, even bursts, keeping the can at the recommended distance from the ceiling. This helps you control the amount of texture and ensures it blends with the surrounding area. Allow the texture to dry completely before inspecting the repair. If necessary, apply a second layer to achieve the desired finish.
Bringing Your Ceiling Back to Life
Fixing a water-damaged popcorn ceiling might seem challenging, but with the right approach, it can be done efficiently. By carefully assessing the damage, gathering the necessary materials, and following each step methodically, you can restore your ceiling's appearance. Remember, for more extensive damage, it’s always wise to consult a professional disaster restoration service. With patience and attention to detail, your ceiling will look as good as new in no time.
Get in Touch with Verg Restoration for Seamless Repairs
Is your popcorn ceiling suffering from water damage? Let Verg Restoration restore it to its original condition. Located at 8618 NE, 13th Ave, Vancouver, WA, 98665, we are ready to help you with any disaster restoration needs. Call us at (360) 818-4644 or visit
https://www.vergrestoration.com/. Our team is dedicated to providing quality service and ensuring your home looks great again. Don’t wait—reach out to us today!