Revive Your Ceiling: Easy Repairs for Water-Damaged Tiles
Water damage can be a nightmare for homeowners, especially when it affects ceiling tiles. The damage not only looks bad but can lead to more significant problems if left untreated. Repairing ceiling tiles with water damage is straightforward with the right steps. This process can restore your ceiling's appearance and prevent future issues. By following a few essential steps, you can handle minor repairs yourself. However, for more extensive damage, consider consulting a water damage specialist. This ensures the job is done correctly and prevents recurring issues. Let’s walk through the steps to repair your ceiling tiles efficiently.
Identifying the Extent of the Damage
Understanding how severe the damage is will determine your repair approach. Assessing the situation accurately is important before taking any action.
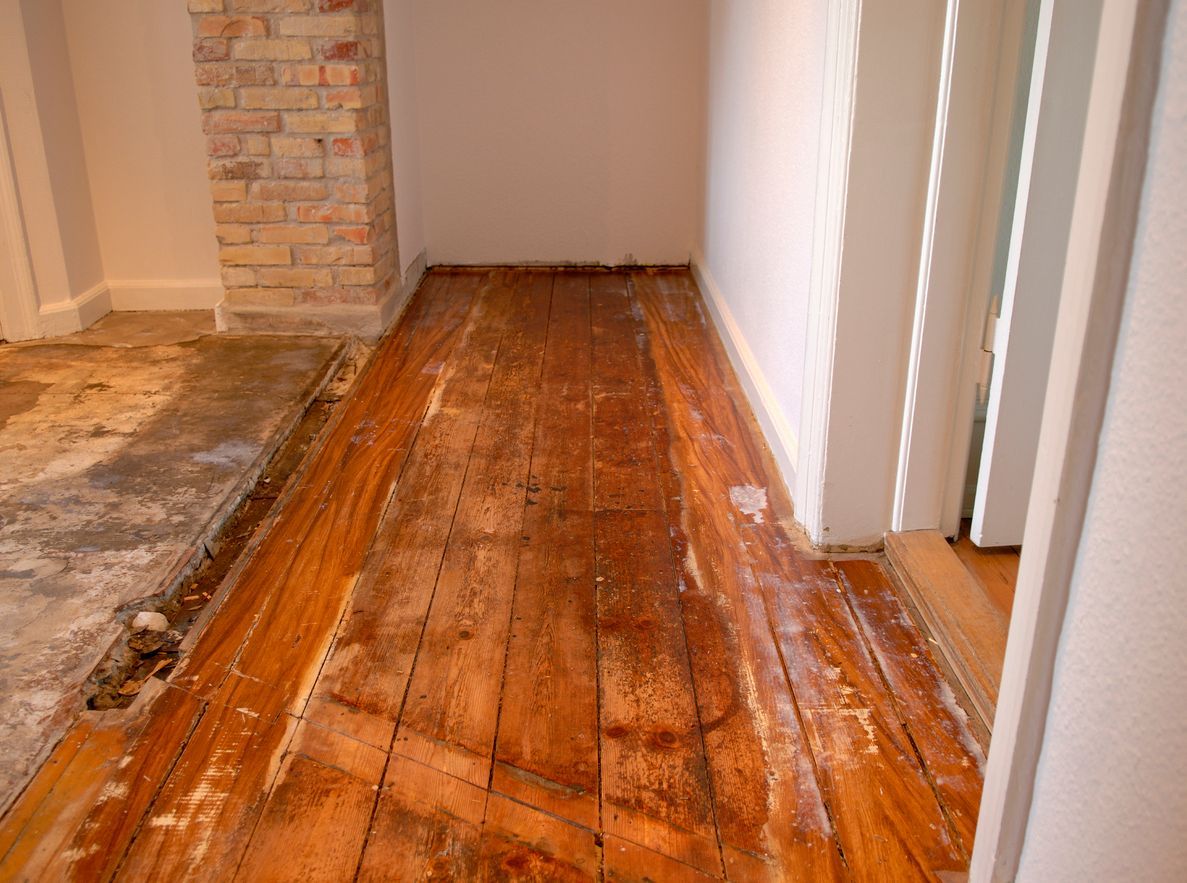
Inspecting the Tiles
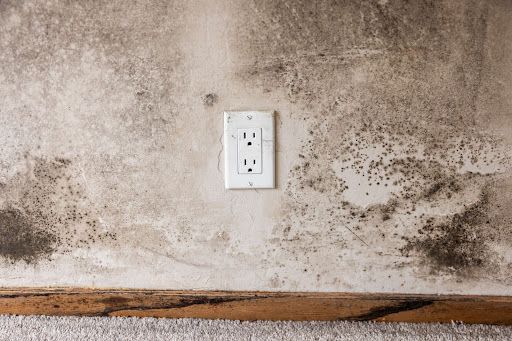
Carefully examine each tile for signs of discoloration, warping, or mold growth. Discoloration means water has soaked into the tiles, changing their color. Warping shows that the tiles have been exposed to moisture for a long time, causing them to bend or twist. Mold growth is serious because it damages the tiles and can harm your health. By checking each tile closely, you can decide whether they need to be replaced or if they can be cleaned and fixed.
Checking for Hidden Issues
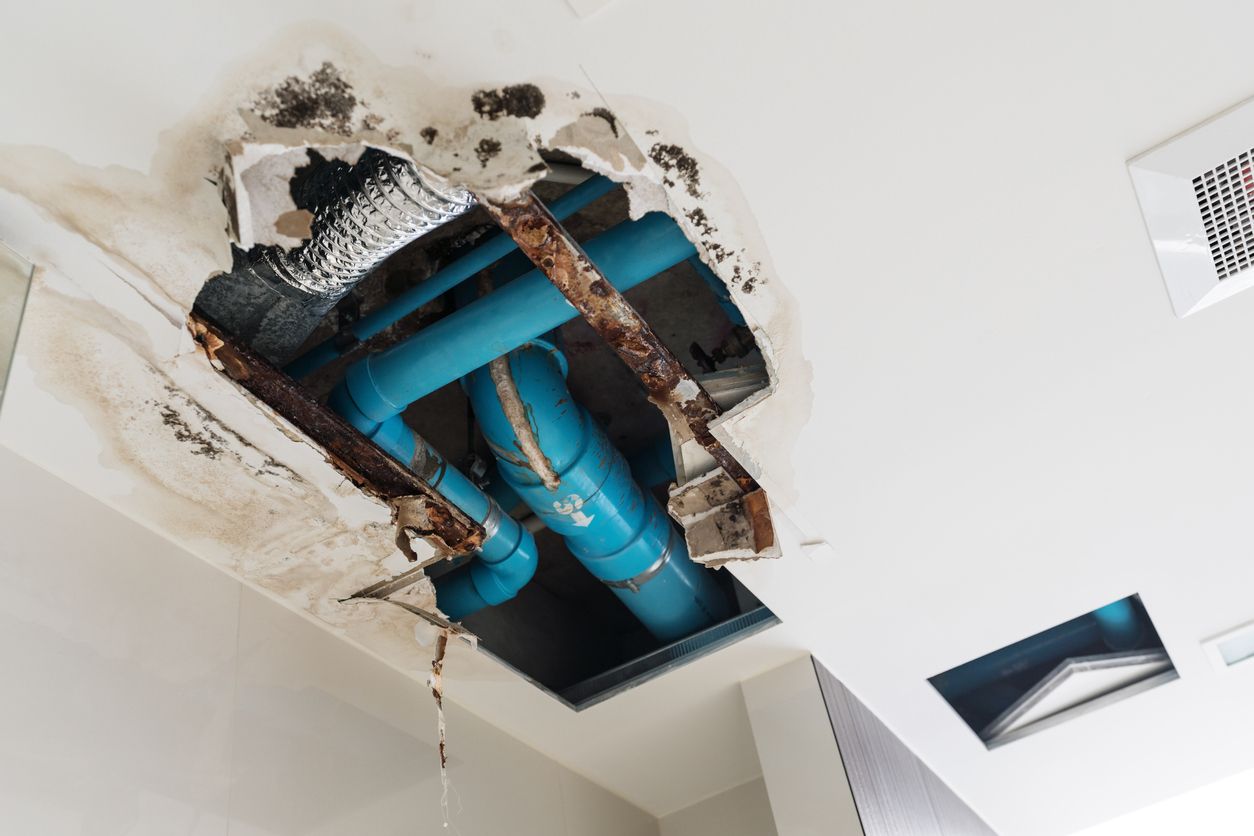
Sometimes, water damage might indicate larger problems, such as leaks or poor insulation. Make sure to inspect the underlying causes thoroughly. Look for leaks in the roof or plumbing that might have caused the water damage. Poor insulation can also lead to condensation, which can damage ceiling tiles over time. By finding and fixing these hidden issues, you can prevent future damage and keep your ceiling in good shape. This careful inspection will help you solve the main problem.
Gathering the Necessary Tools and Materials
Having the right tools and materials on hand will make the repair process smoother and more efficient. Preparation is key to successful repairs.
Essential Tools
Ensure you have a utility knife, a putty knife, and a sponge. These basic tools will help you carry out most repairs with ease. The utility knife is perfect for cutting out damaged tiles and trimming new ones to fit. The putty knife helps with applying adhesive and smoothing out surfaces. A sponge is useful for cleaning the area and removing any excess adhesive or sealant. Having these tools ready will make the repair process quicker and more efficient.
Required Materials
You'll need replacement tiles, adhesive, and a sealant. Having these materials ready will save you time and effort during the repair process. Replacement tiles should match the existing ones in size and color. The adhesive will secure the new tiles in place, ensuring they stay put. A good quality sealant will protect the tiles from future water damage, sealing any gaps or cracks. By gathering these materials beforehand, you can ensure a smooth and hassle-free repair job.
Removing and Replacing Damaged Tiles
Once you've assessed the damage and gathered your tools, it's time to start the repair process. Removing and replacing tiles can be done in a few simple steps.
Safely Removing Tiles
Carefully cut around the damaged tile with a utility knife, then gently pry it off. This ensures you don't damage surrounding tiles. Start by scoring the edges of the damaged tile to loosen it from the adhesive. Then, use a putty knife to gently lift the tile from the ceiling. Work slowly to avoid breaking the tile or damaging adjacent tiles. This method helps you remove the tile safely and prepares the area for the new tile.
Installing New Tiles
Apply adhesive to the back of the new tile and press it into place. Make sure it's aligned with the surrounding tiles for a seamless look. Spread the adhesive evenly to ensure the tile sticks well. Press the tile firmly against the ceiling, holding it for a few moments to secure it in place. Check the alignment to make sure it matches the surrounding tiles perfectly. This careful installation ensures your ceiling looks uniform and the new tile stays firmly attached.
Repairing Minor Damages Without Replacement
Not all water-damaged tiles need to be replaced. Some minor damages can be repaired with a few easy techniques.
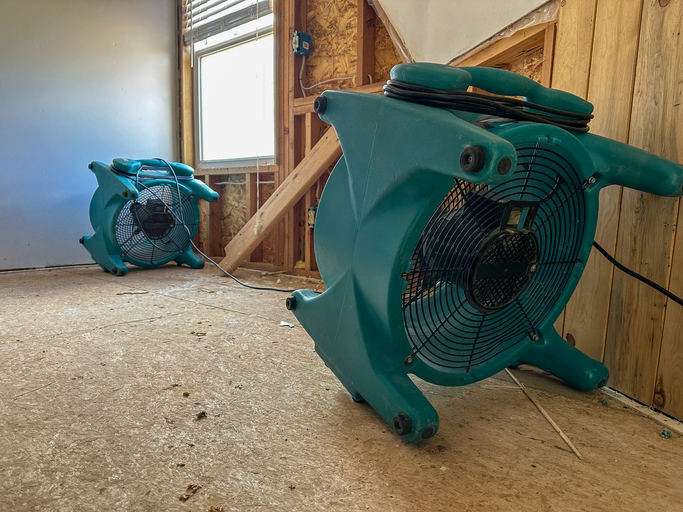
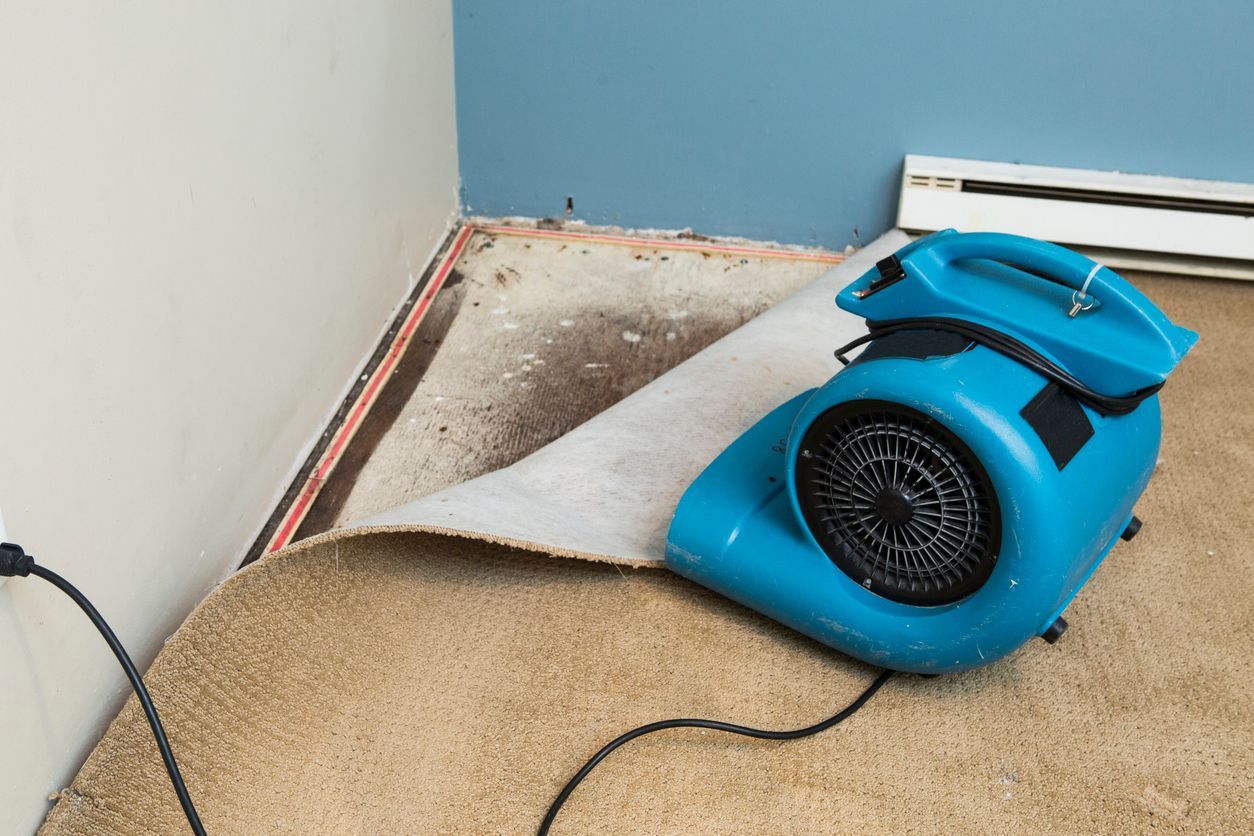
Cleaning and Drying Tiles
For minor stains or damp spots, thoroughly clean and dry the tiles. This can prevent further damage and eliminate unpleasant odors. Use a mild detergent and a sponge to gently clean the stained areas. After cleaning, allow the tiles to dry completely by using fans or natural airflow. This process helps to remove any water residue and stops mold growth. Proper cleaning and drying will restore the appearance of your tiles and keep your ceiling looking fresh.
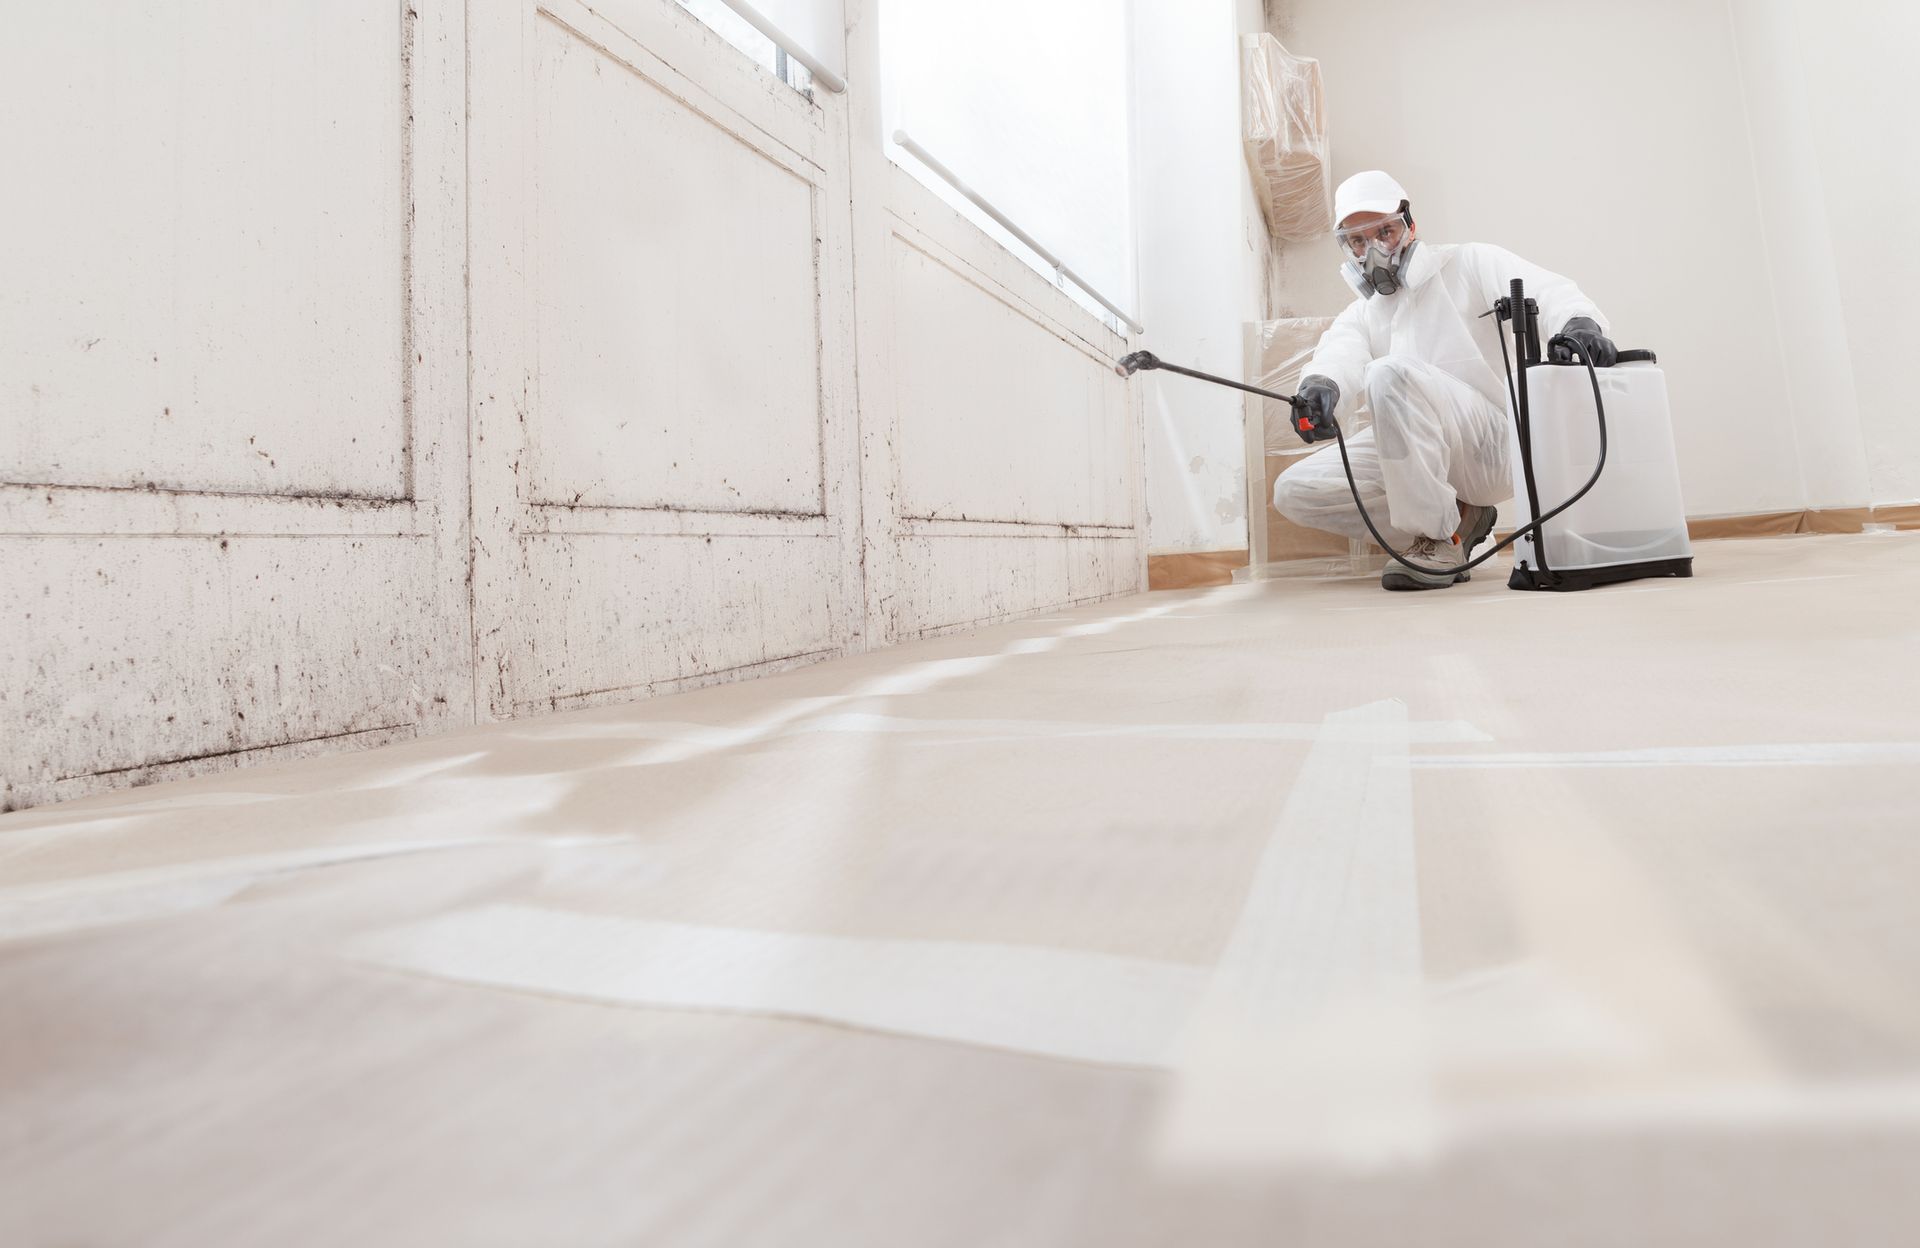
Applying Sealant
Using a sealant can protect your tiles from future water damage. Apply it evenly over the tile surface for best results. Choose a sealant that is suitable for the type of tiles you have. Follow the manufacturer’s instructions for application. Use a brush or roller to spread the sealant, making sure to cover the entire surface. This creates a protective barrier against moisture. By sealing your tiles, you extend their lifespan and maintain their appearance. This simple step helps prevent future issues and keeps your ceiling in good condition.
Preventing Future Water Damage
Preventing water damage is easier than repairing it. Take these steps to protect your ceiling tiles from future harm.
Fixing Leaks Promptly
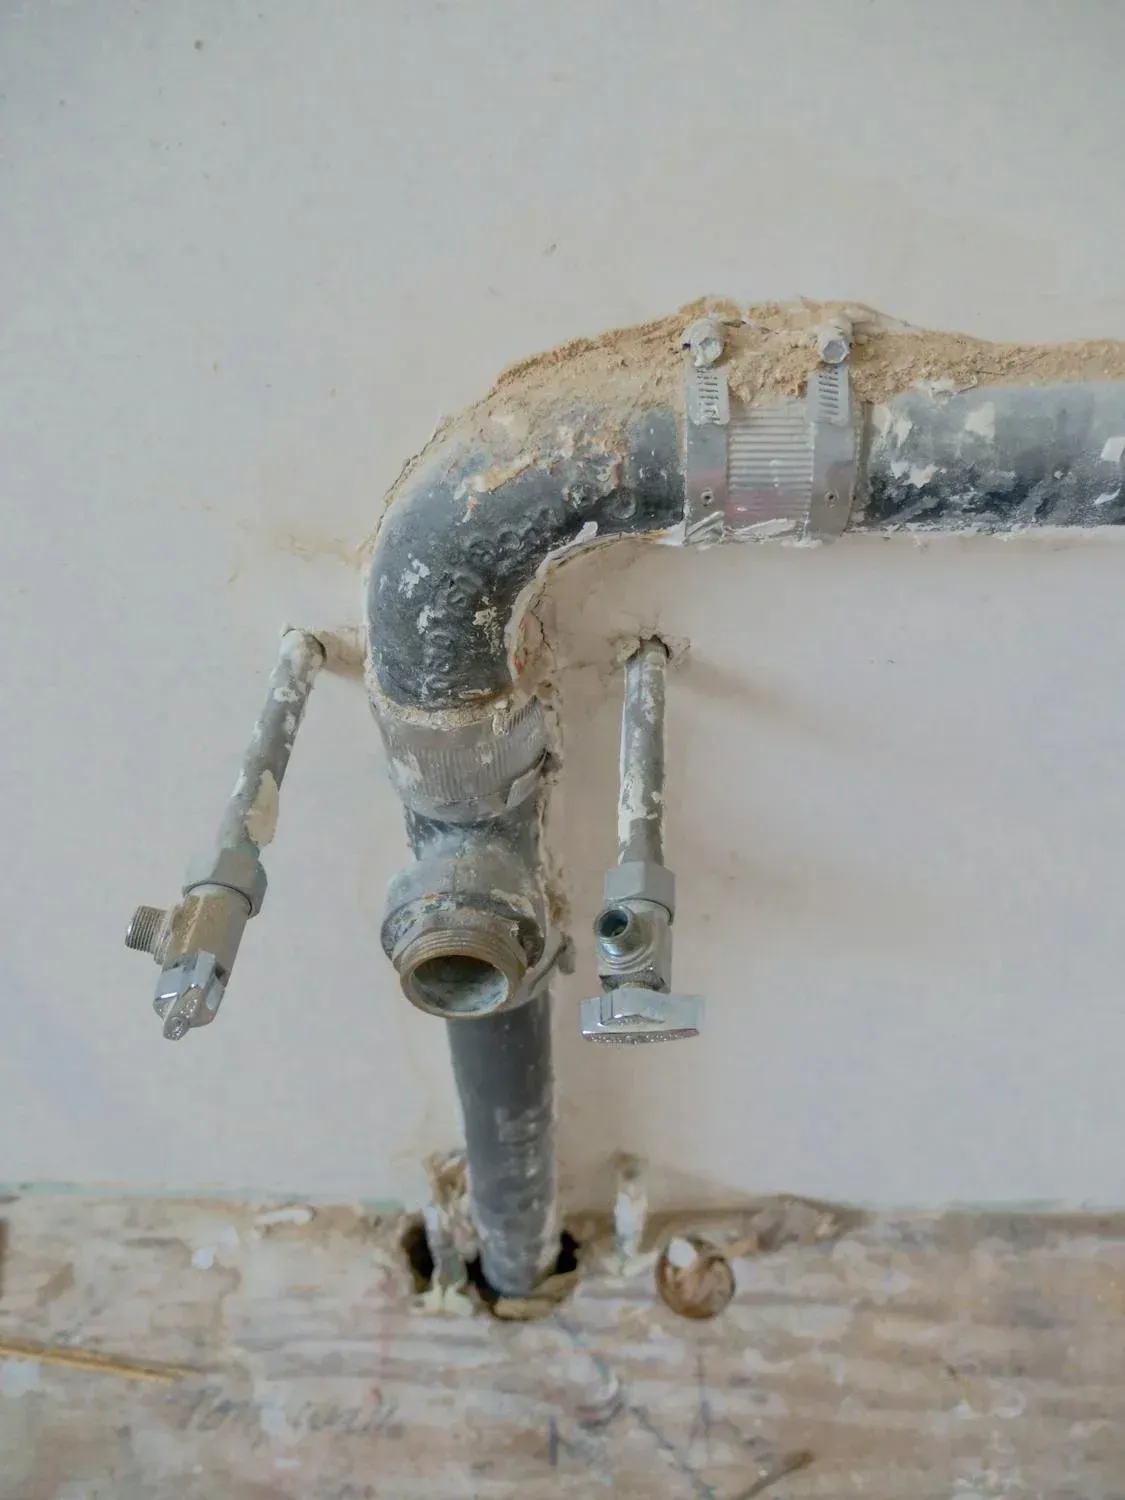
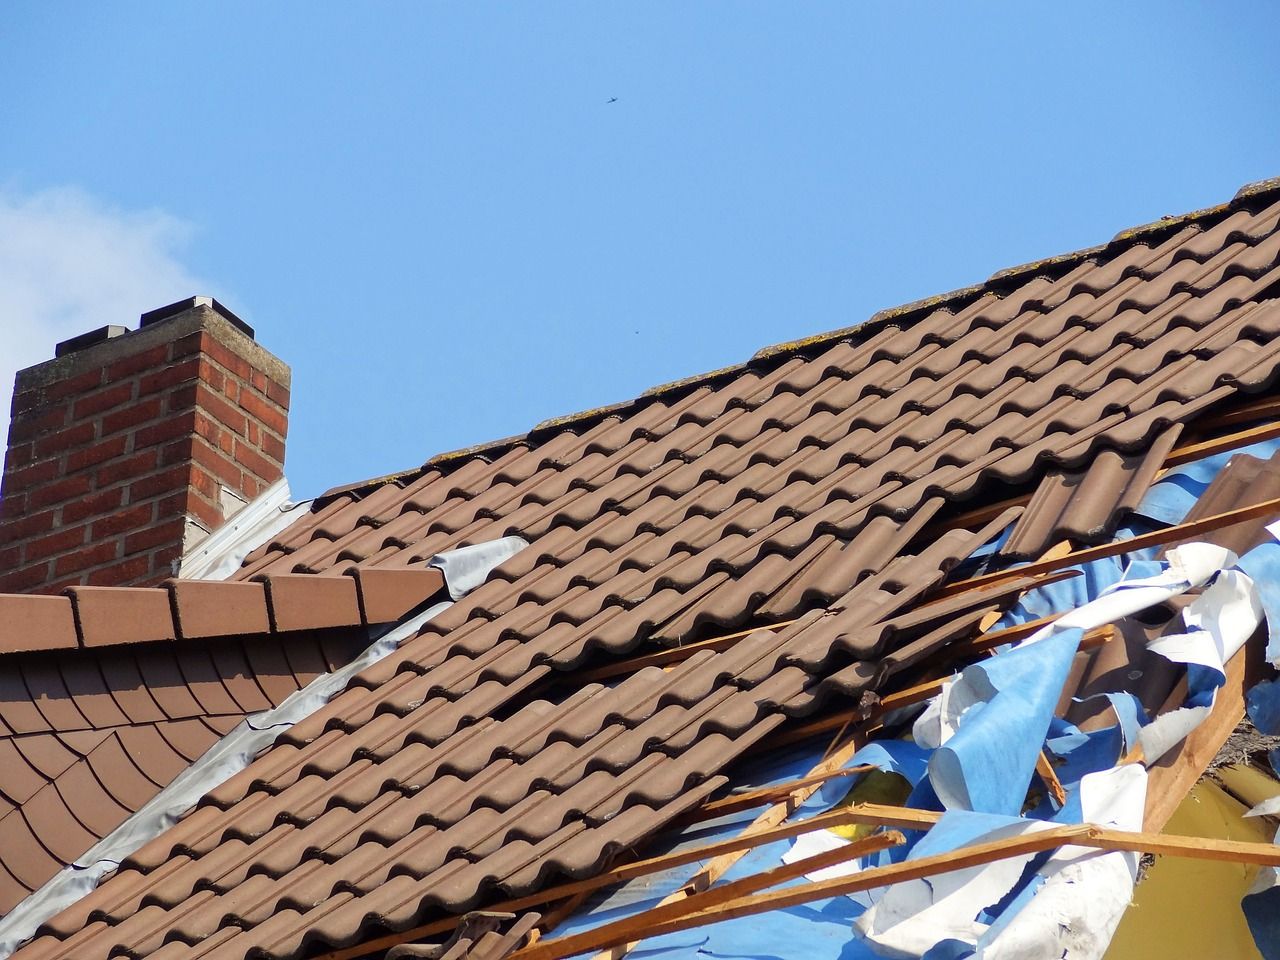
Address any leaks in your roof or plumbing immediately to prevent water from reaching your ceiling tiles. Leaks can start small but quickly lead to significant water damage if left unchecked. Regularly inspect your roof for missing shingles or damaged areas. In the bathroom and kitchen, check pipes and faucets for any signs of dripping or moisture. By fixing leaks promptly, you stop water from spreading to your ceiling tiles, thus avoiding costly repairs and maintaining the integrity of your home.
Improving Ventilation
Ensure proper ventilation in your home to reduce moisture buildup. This simple step can significantly reduce the risk of water damage. Good ventilation helps to control the humidity levels, especially in areas like the bathroom, kitchen, and basement. Use exhaust fans in bathrooms and kitchens to remove excess moisture from cooking or showering. Open windows regularly to allow fresh air to circulate. If necessary, use a dehumidifier in damp areas. Proper ventilation keeps your home dry and helps protect your ceiling tiles from future water damage.
Keep Your Ceiling in Top Shape
Keeping your ceiling tiles in good condition enhances your home's appearance and prevents more significant issues. By following the steps outlined, you can effectively repair water-damaged ceiling tiles and safeguard them against future damage. Regular maintenance and timely repairs are essential to a beautiful, functional ceiling. If you encounter persistent problems or severe damage, don't hesitate to seek help from a water damage specialist. Taking prompt action will keep your ceiling looking great and ensure your home remains a comfortable, safe place to live.
Contact Verg Restoration to Safeguard Your Home
Don't let water damage disrupt your life. Verg Restoration offers top-notch water damage repair to restore your home swiftly and effectively. Our team at 8618 NE, 13th Ave, Vancouver, WA, 98665, is ready to help you get back to normal. Call us at (360) 818-4644 or visit
https://www.vergrestoration.com/ for reliable and prompt service. Trust us to handle your water damage issues with care and expertise. Protect your home and peace of mind by contacting us today.