Effective Ways to Repair Subfloor Water Damage
Effective Ways to Repair Subfloor Water Damage

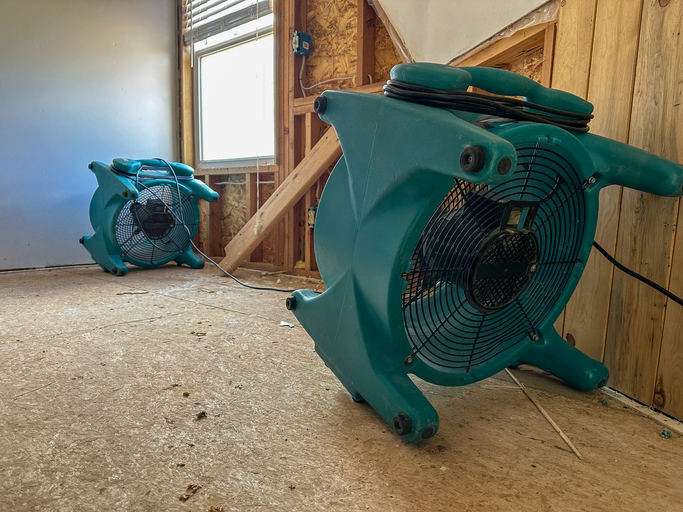
Dealing with water damage to your subfloor can be challenging, but it's important to address it promptly to maintain your home's integrity. Whether it's a minor leak or a significant flood, knowing the steps to repair the damage can save you time and money. If you’re in Portland, professional help is readily available; you can learn more about expert services for water restoration Portland. Understanding the essential steps to repair subfloor water damage can make the process manageable and ensure your home remains safe and sound.
Identifying Subfloor Water Damage
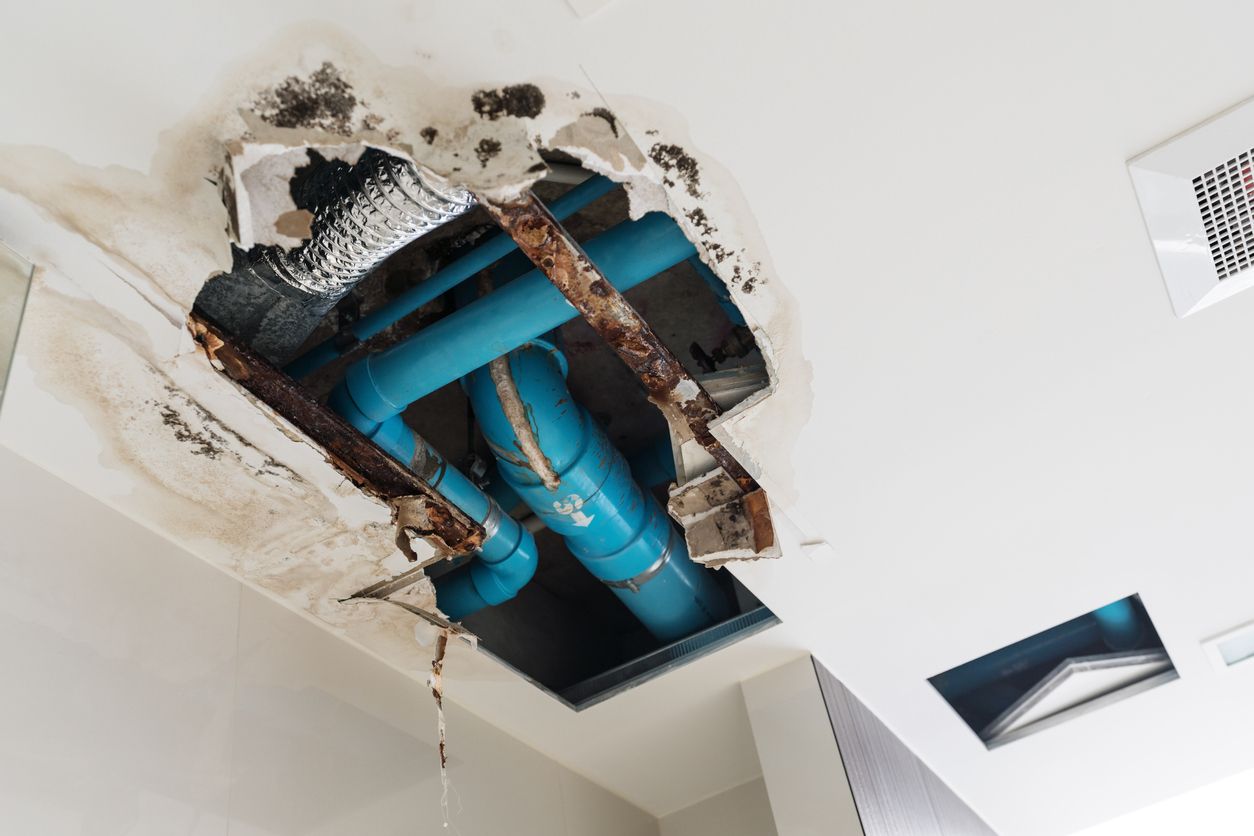
Subfloor water damage can often go unnoticed until it becomes severe. Look for signs such as warped floors or musty odors.
Visible Signs of Damage
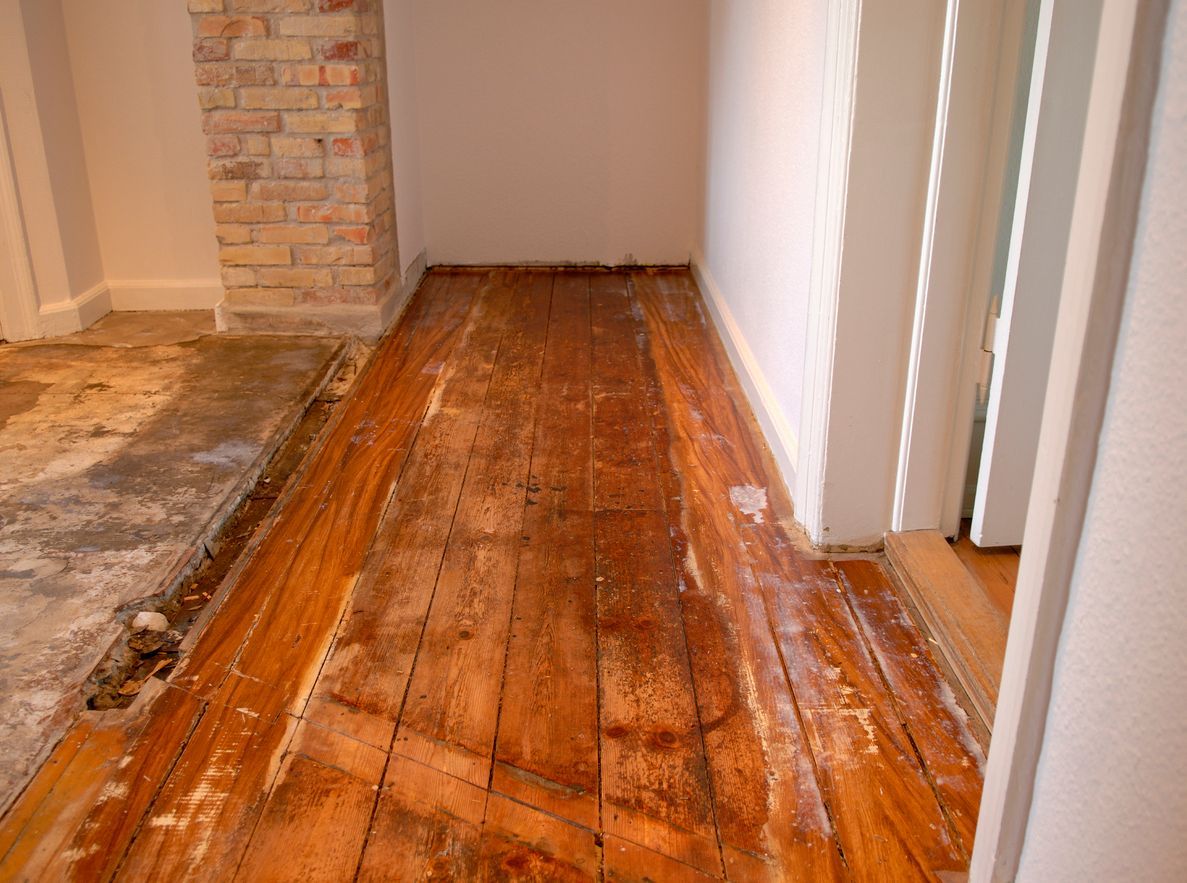
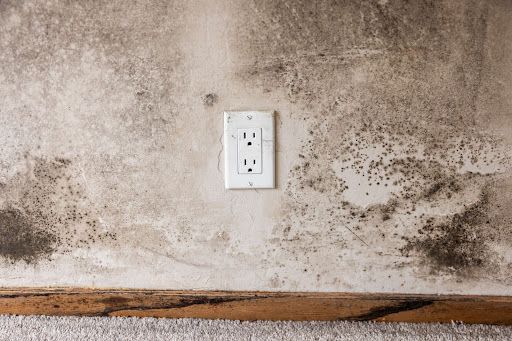
Visible signs of subfloor water damage are usually easy to spot. Warped or buckling floors are clear indicators that water has seeped into the subfloor. If the flooring appears swollen or feels spongy when you walk on it, these are also strong signs of water damage. Stains and discoloration on the surface floor can indicate water presence. Additionally, if tiles or floorboards start to separate or lift, it’s a sign that the subfloor underneath is damaged. Checking for these visible signs can help you address the issue before it worsens.
Subtle Indicators to Watch For
Subtle indicators of subfloor water damage can be trickier to identify but are just as important. Musty odors are a significant clue, often signaling mold or mildew growth beneath the floor. Listen for creaking or unusual sounds when walking, as these can indicate weakened wood. If you notice a sudden increase in pests, it might mean there's moisture attracting them to the area. Pay attention to changes in indoor air quality, as persistent dampness can affect your home's atmosphere. Noticing these subtle signs early can help prevent more severe damage.
Assessing the Extent of Damage
Before repairing, understand the extent of the damage. This helps in determining whether to repair or replace the subfloor.
Performing a Visual Inspection
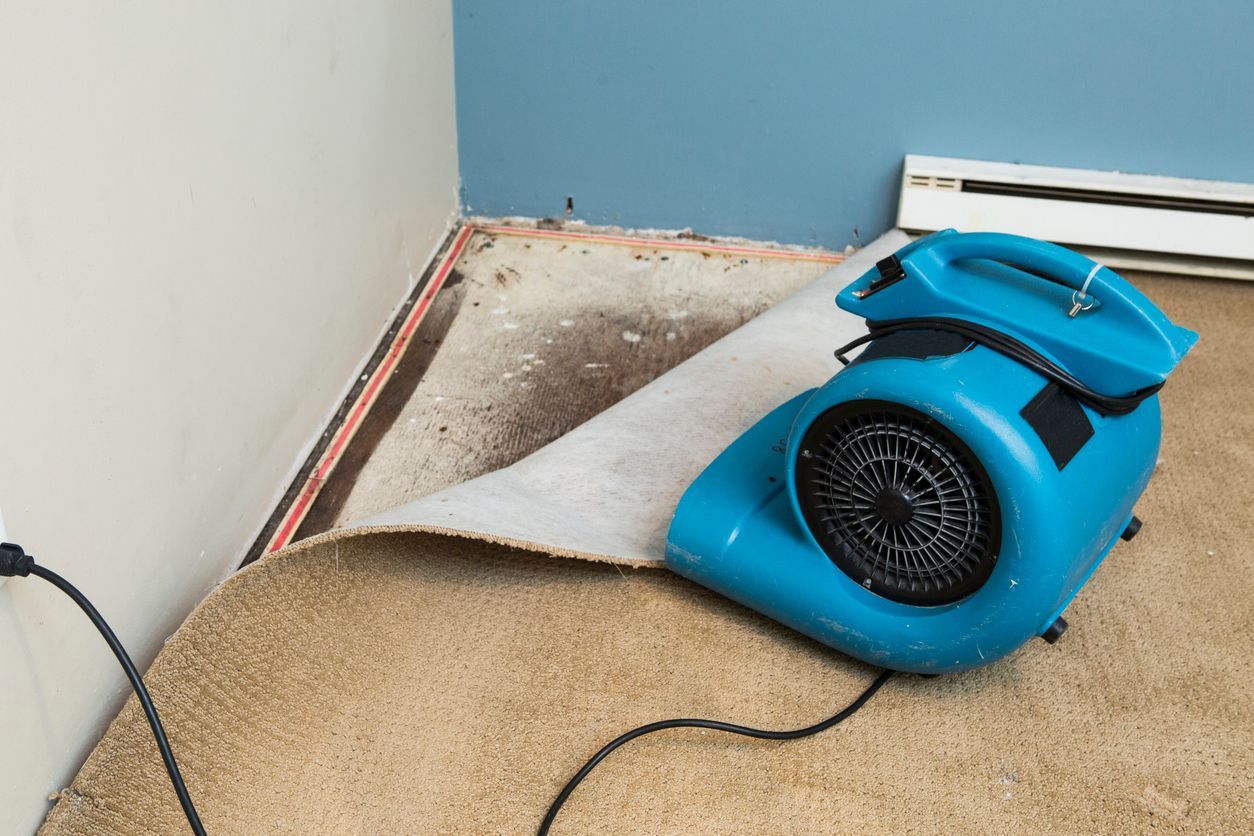
A visual inspection is the first step in assessing subfloor damage. Begin by removing any surface flooring to get a clear view of the subfloor. Look for obvious signs such as discoloration, swelling, or mold growth. Check the entire area thoroughly, paying special attention to corners and edges where water may have seeped in. If the subfloor feels soft or spongy in certain spots, this indicates severe water damage that may require replacing those sections.
Using Moisture Meters
Using moisture meters can provide a more precise assessment of water damage. These devices measure the moisture content in the wood, helping you identify areas with hidden damage. To use a moisture meter, press its probes into the subfloor at various points. Readings above 16% typically indicate that the wood is wet and may need repair or replacement. Regularly checking with a moisture meter can help monitor the drying process and ensure the subfloor is adequately dried before any repairs are made.
Gathering Necessary Tools and Materials
Having the right tools and materials is essential for an efficient repair process. Gather everything before starting the repair.
Essential Tools for the Job
For repairing subfloor water damage, several tools are necessary. A pry bar and circular saw will help you remove damaged sections of the subfloor. A hammer and nails or a screw gun with screws are needed to secure the new subfloor panels in place. Safety equipment like gloves and goggles is also important to protect yourself during the repair. Additionally, a moisture meter is useful for checking moisture levels to ensure the subfloor is dry before making repairs.
Materials Needed for Repair
The materials you need will depend on the extent of the damage. Common materials include plywood or oriented strand board (OSB) for replacing damaged subfloor sections. You may also need adhesive or construction glue to secure the new panels. If mold is present, a mold-killing primer is necessary before installing the new subfloor. Have wood putty on hand for filling any gaps, and consider using a waterproof sealant to protect the repaired subfloor from future water damage.
Step-by-Step Repair Process
Following a systematic process ensures thorough and effective repairs. Take it step by step to ensure nothing is missed.
Removing Damaged Sections
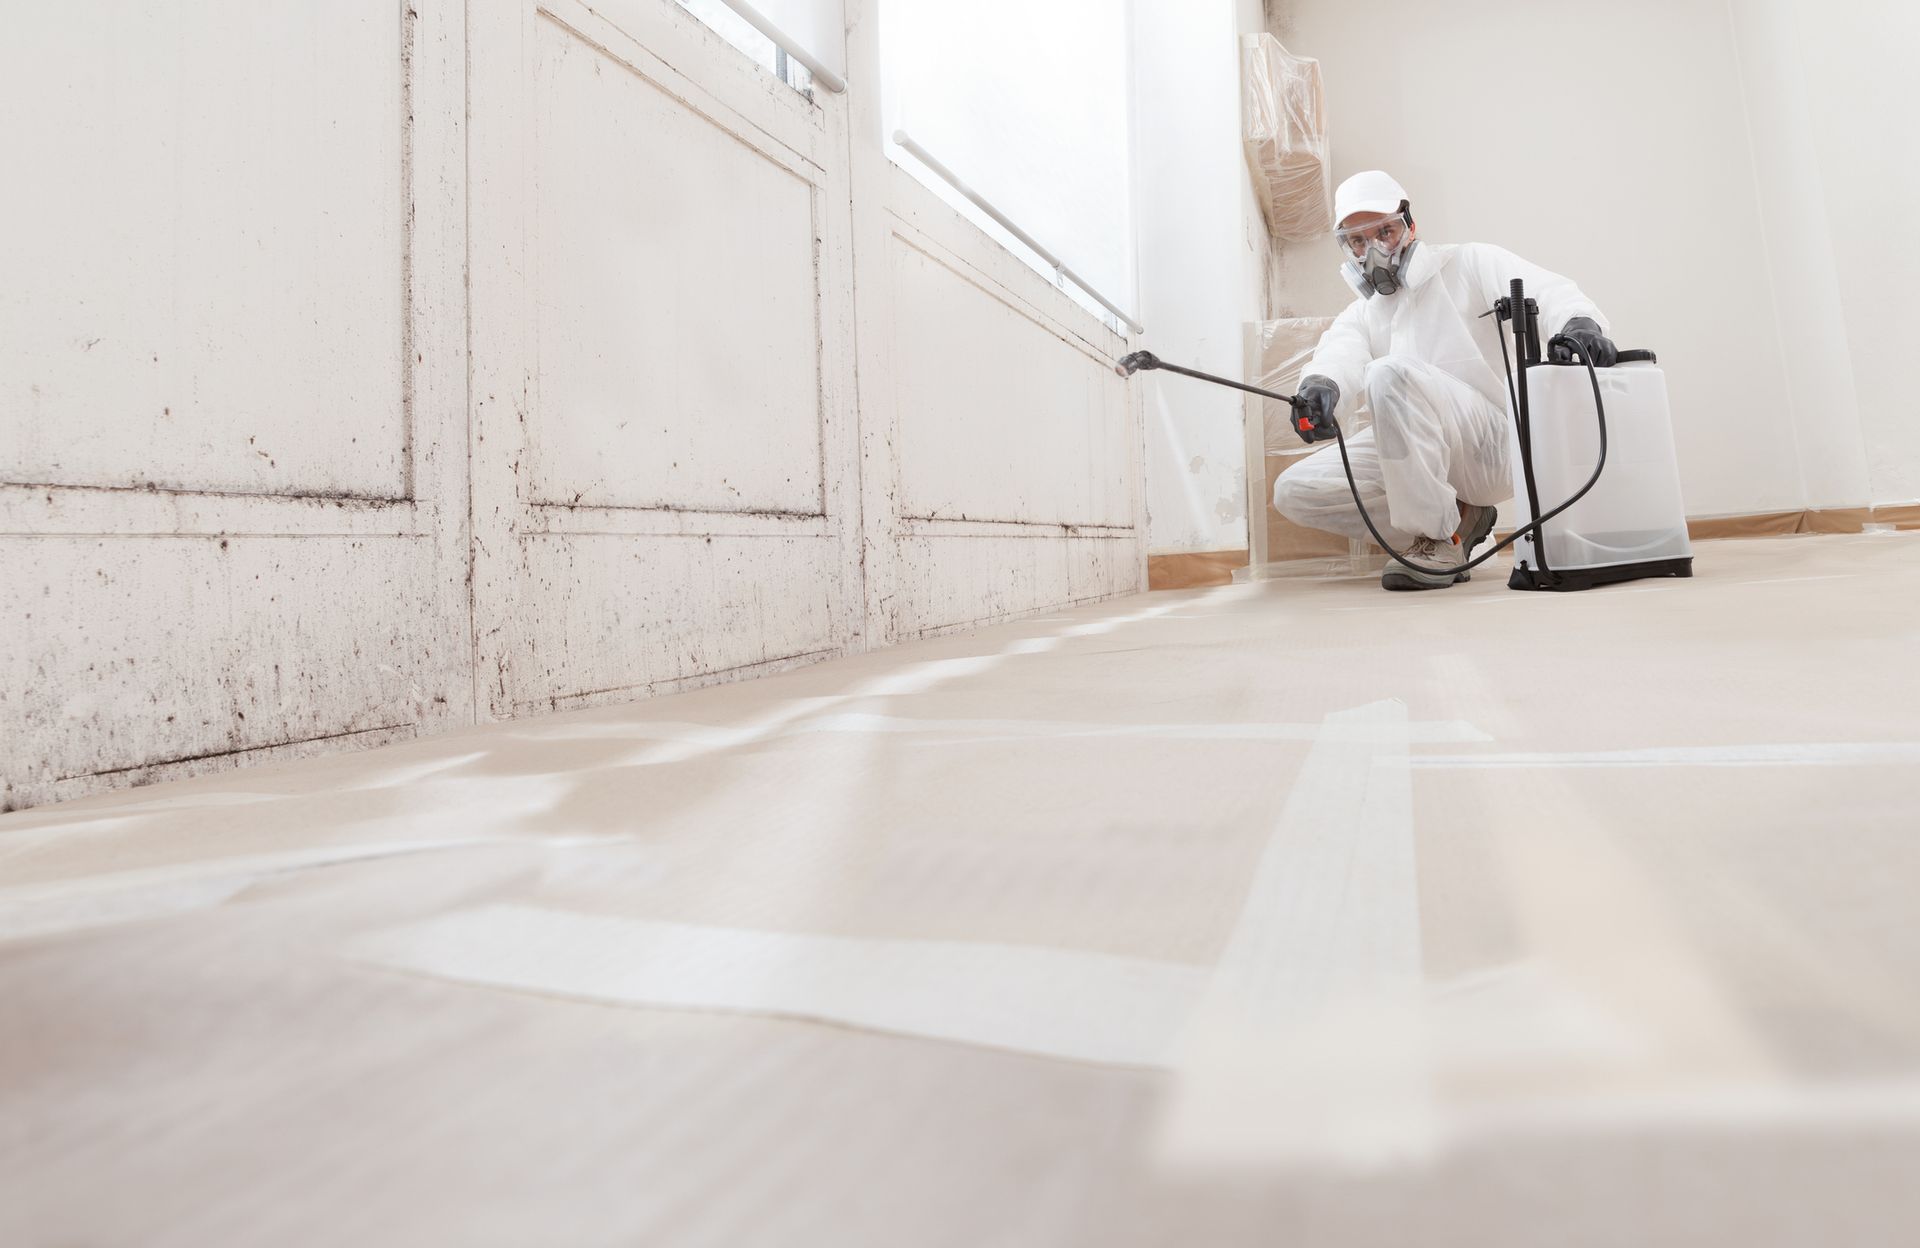
Start by removing any floor covering to expose the damaged subfloor. Use a circular saw to cut out the damaged areas, making sure to set the blade depth to the thickness of the subfloor to avoid cutting into the joists. Pry out the damaged sections carefully with a pry bar. If there is any mold, treat the area with a mold-killing solution before proceeding. Ensure all damaged and wet materials are completely removed to prevent future issues.
Installing New Subfloor Panels
Measure and cut new subfloor panels to fit the areas you removed. Use the same material as the existing subfloor for consistency. Apply a layer of construction adhesive to the joists before placing the new panels. Secure the panels with screws or nails, ensuring they are flush with the surrounding subfloor. Check for any gaps and fill them with wood putty. Once the panels are secure, allow the adhesive to dry completely before replacing the floor covering. This will ensure the subfloor is strong and stable.
Preventing Future Water Damage
Preventing future water damage is as important as repairing existing damage. Implement measures to protect your subfloor.
Improving Ventilation
Improving ventilation helps keep moisture levels low, reducing the risk of water damage. Ensure that your home has adequate ventilation, especially in areas like basements and bathrooms. Install exhaust fans in high-moisture areas to help remove humidity. Using dehumidifiers can also help keep the air dry, particularly in damp climates or during rainy seasons. Proper ventilation ensures that moisture doesn’t accumulate and cause damage over time.
Regular Maintenance Tips
Regular maintenance is key to preventing future water damage to your subfloor. Inspect your plumbing for leaks and fix any issues immediately. Check the seals around windows and doors to ensure they are watertight. Clean gutters regularly to prevent water from overflowing and seeping into your home’s foundation. Additionally, consider applying a waterproof sealant to areas prone to moisture. Routine checks and maintenance can help you catch and address potential problems before they lead to significant damage.
Keep Your Subfloor Dry and Strong
Addressing subfloor water damage quickly is important for keeping your home safe and healthy. By following these steps, you can keep your subfloor in good condition and avoid costly repairs later. Regular inspections and preventive measures can save you from future problems and maintain your home's top shape. If the task feels too challenging, remember that professional help is always available to ensure the job is done correctly.
Call Verg Restoration for Quick Help with Water Damage
Facing water damage? Verg Restoration is here to help. Located at 8618 NE 13th Ave, Vancouver, WA, 98665, we provide reliable services to restore your home. Get in touch with us at (360) 818-4644 or visit https://www.vergrestoration.com/ for more information. Our team is ready to assist you and ensure your home is safe and dry. Don't wait until the damage worsens—reach out today for professional help.