Effective Steps to Fix Water-Damaged Walls
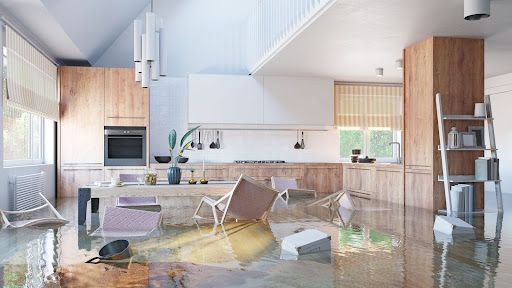
Water damage can be a homeowner's nightmare, but knowing how to repair a wall with water damage can save you time and money. In this guide, we’ll walk you through the process of restoring your walls and preventing future problems. If you’re dealing with extensive damage, reaching out to a water damage repair company might be your best option. But for smaller issues, you can tackle the repair yourself with the right approach. Keep reading to find out how to get your walls back in shape.
Identifying Water Damage on Your Wall
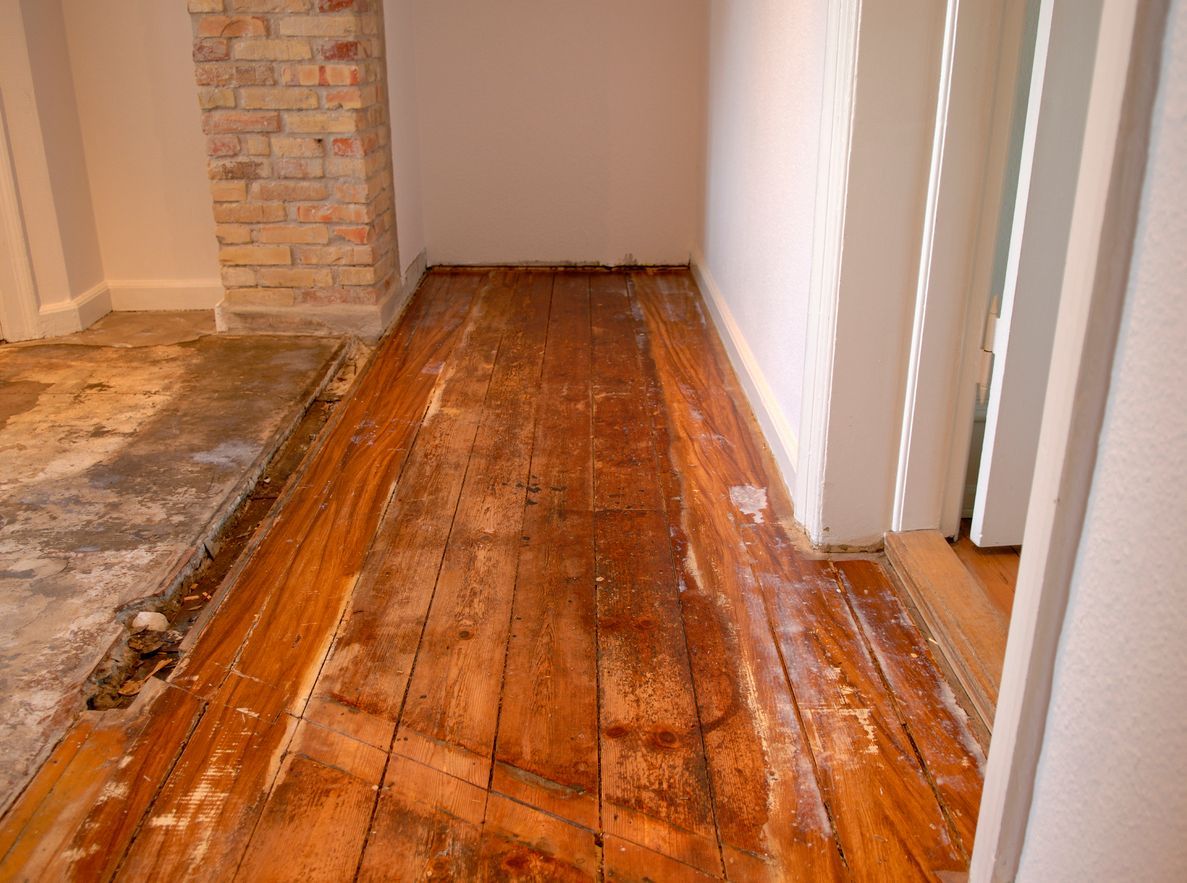
Before starting repairs, it’s important to identify the extent of the water damage. Look for signs like discoloration, peeling paint, or dampness.
Signs of Superficial Damage
Superficial damage is often limited to the surface and can include things like small stains, slight discoloration, or minor peeling of paint. These issues usually happen when the wall has been exposed to moisture but not soaked for a long time. Such damage might only need minor repairs like repainting or applying a new layer of plaster. If you catch these signs early, you can usually prevent further problems with simple fixes.
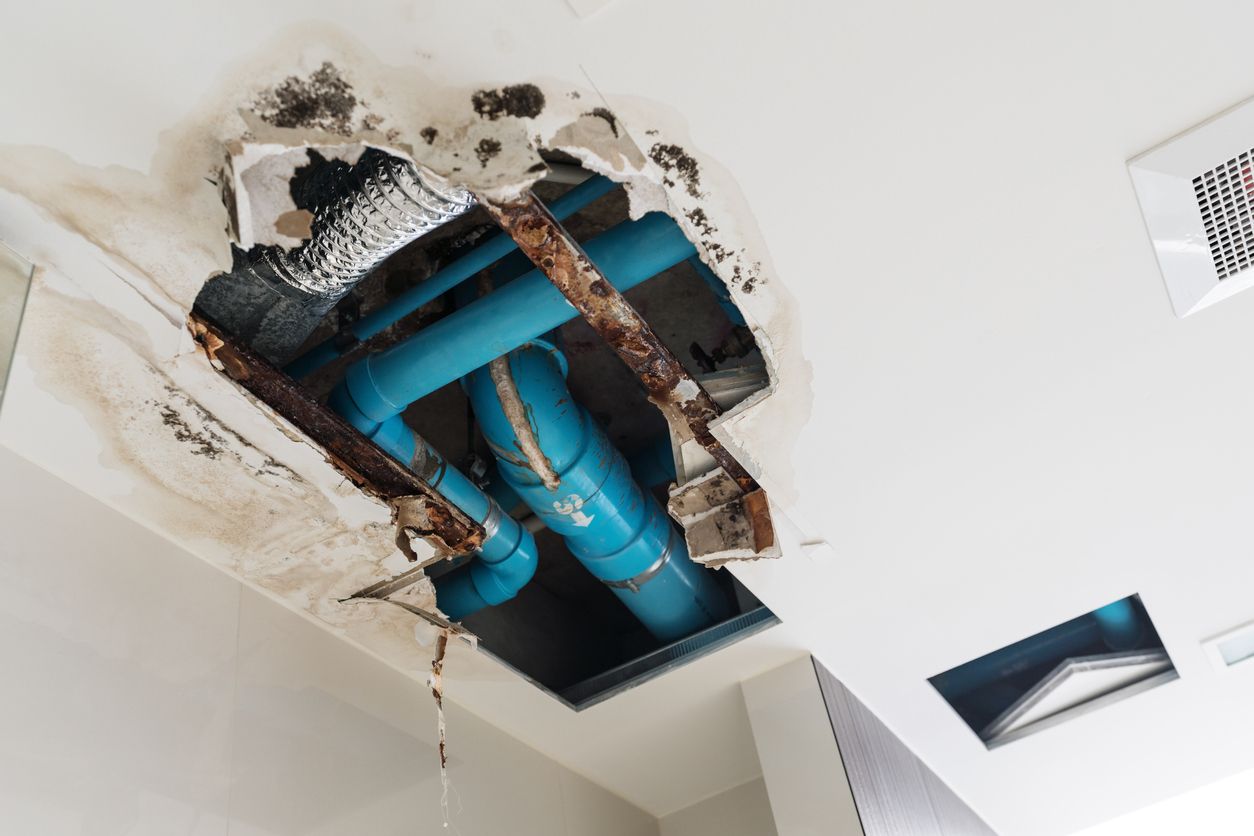
Signs of Severe Damage
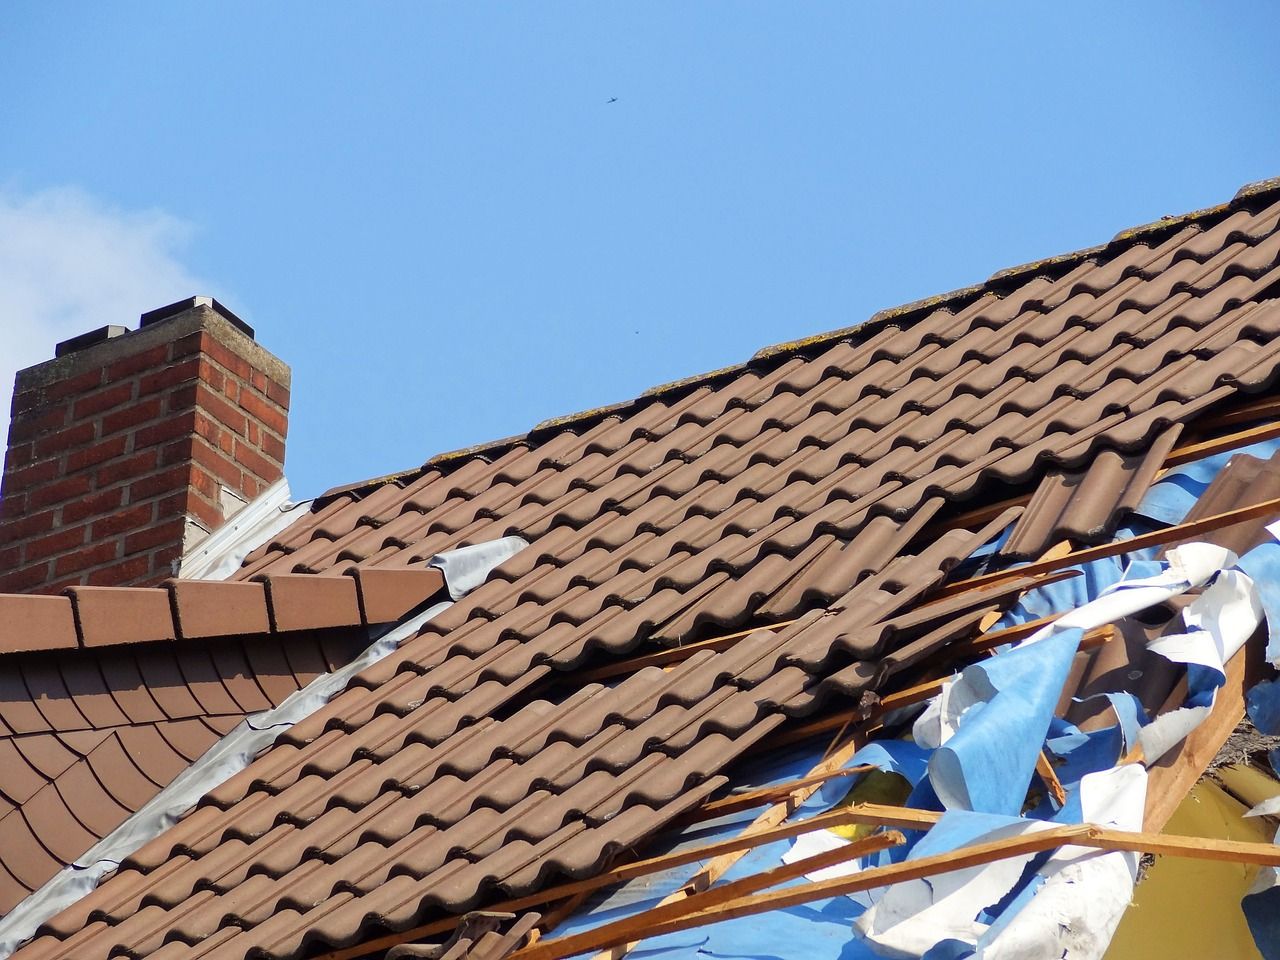
Severe damage goes beyond the surface and can involve larger sections of the wall. This type of damage might show up as significant cracks, bulging walls, or areas where the paint has peeled off in large patches. You might also notice mold growth or a persistent musty smell. These are signs that water has penetrated deep into the wall, possibly affecting the structural integrity. In such cases, the repair process will be more involved, possibly requiring the replacement of damaged drywall or insulation. It's important to address severe damage quickly to avoid further deterioration.
Drying the Affected Area
Drying the wall is an essential step to prevent mold growth and further deterioration. Proper drying methods depend on the severity of the damage.
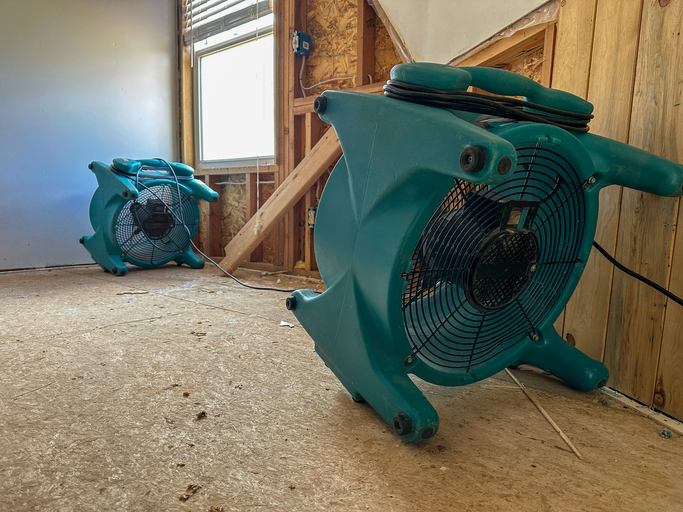
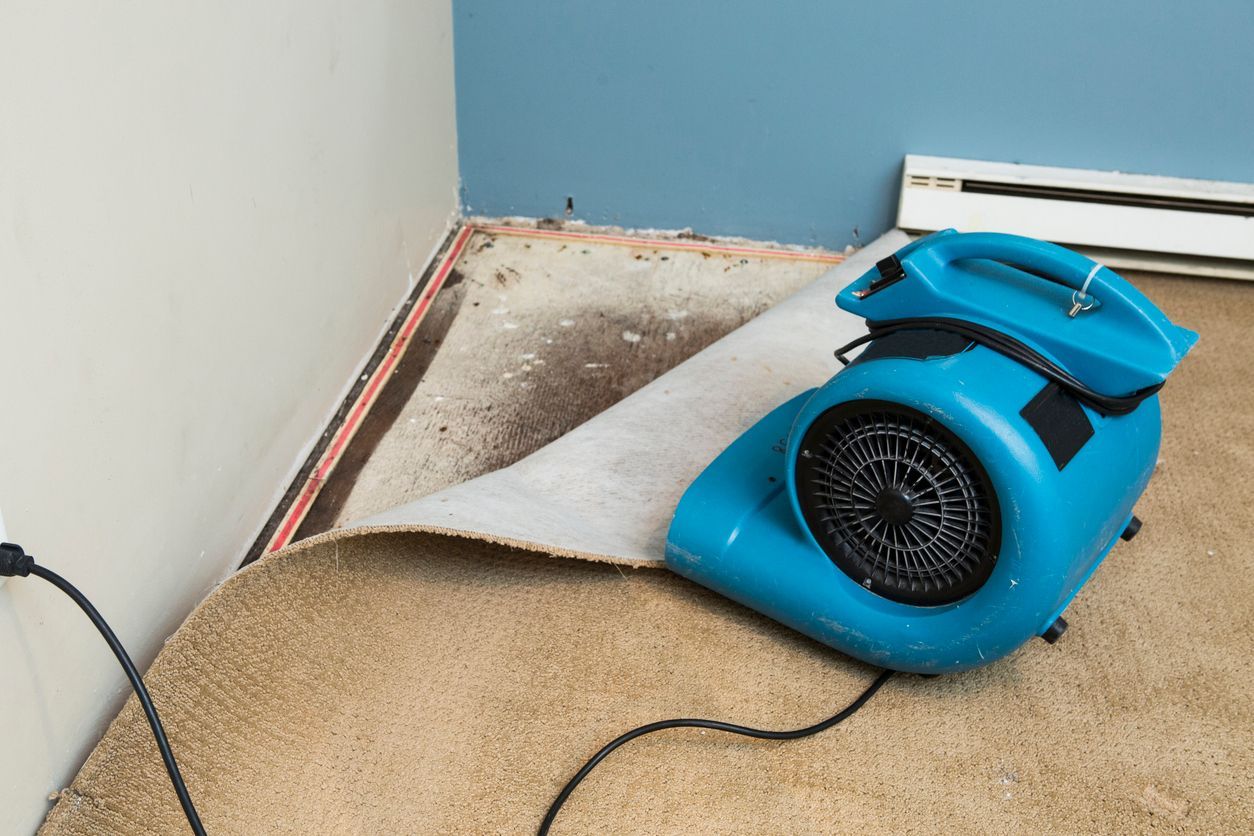
Using Fans and Dehumidifiers
Using fans and dehumidifiers is a common way to dry out walls with minor to moderate water damage. Fans help circulate air, speeding up the evaporation of moisture on the surface. Dehumidifiers, on the other hand, remove excess moisture from the air, which helps to dry out the wall more effectively. This method is most effective when the damage is not too severe and there is still hope to prevent deeper issues like mold growth. It’s important to keep the equipment running continuously until the wall feels completely dry to the touch.
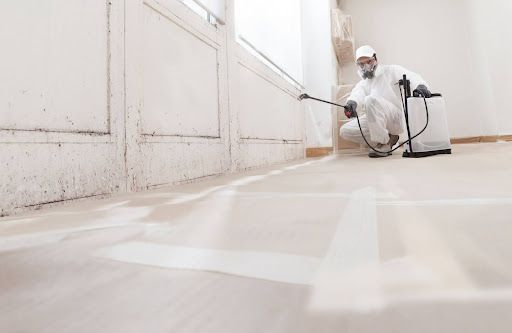
When to Consider Professional Drying Services
If the water damage is extensive, or if the wall has been soaked for a long time, professional drying services may be necessary. Professionals use specialized equipment, such as industrial-grade fans and dehumidifiers, to dry out the walls quickly and thoroughly. They can also assess the situation to ensure that all moisture is removed, reducing the risk of future mold problems. This service is particularly important if the damage extends beyond the surface and could affect the structural integrity of the wall. In these cases, professional help can save you time and prevent further complications.
Removing Damaged Materials
Once the area is dry, you’ll need to remove any damaged materials like drywall or insulation. This step prepares the surface for repair.
Taking Down Damaged Drywall
Taking down damaged drywall is a necessary step when water has compromised the integrity of the wall. Start by cutting out the affected sections using a utility knife. Cut along the studs to make the removal process easier and to prevent further damage to the surrounding areas. After removing the damaged drywall, inspect the studs and insulation behind it for any signs of moisture or mold. If the damage is confined to a small area, you can replace just the affected section. However, if the damage is widespread, you may need to replace larger portions or even the entire wall to ensure stability.
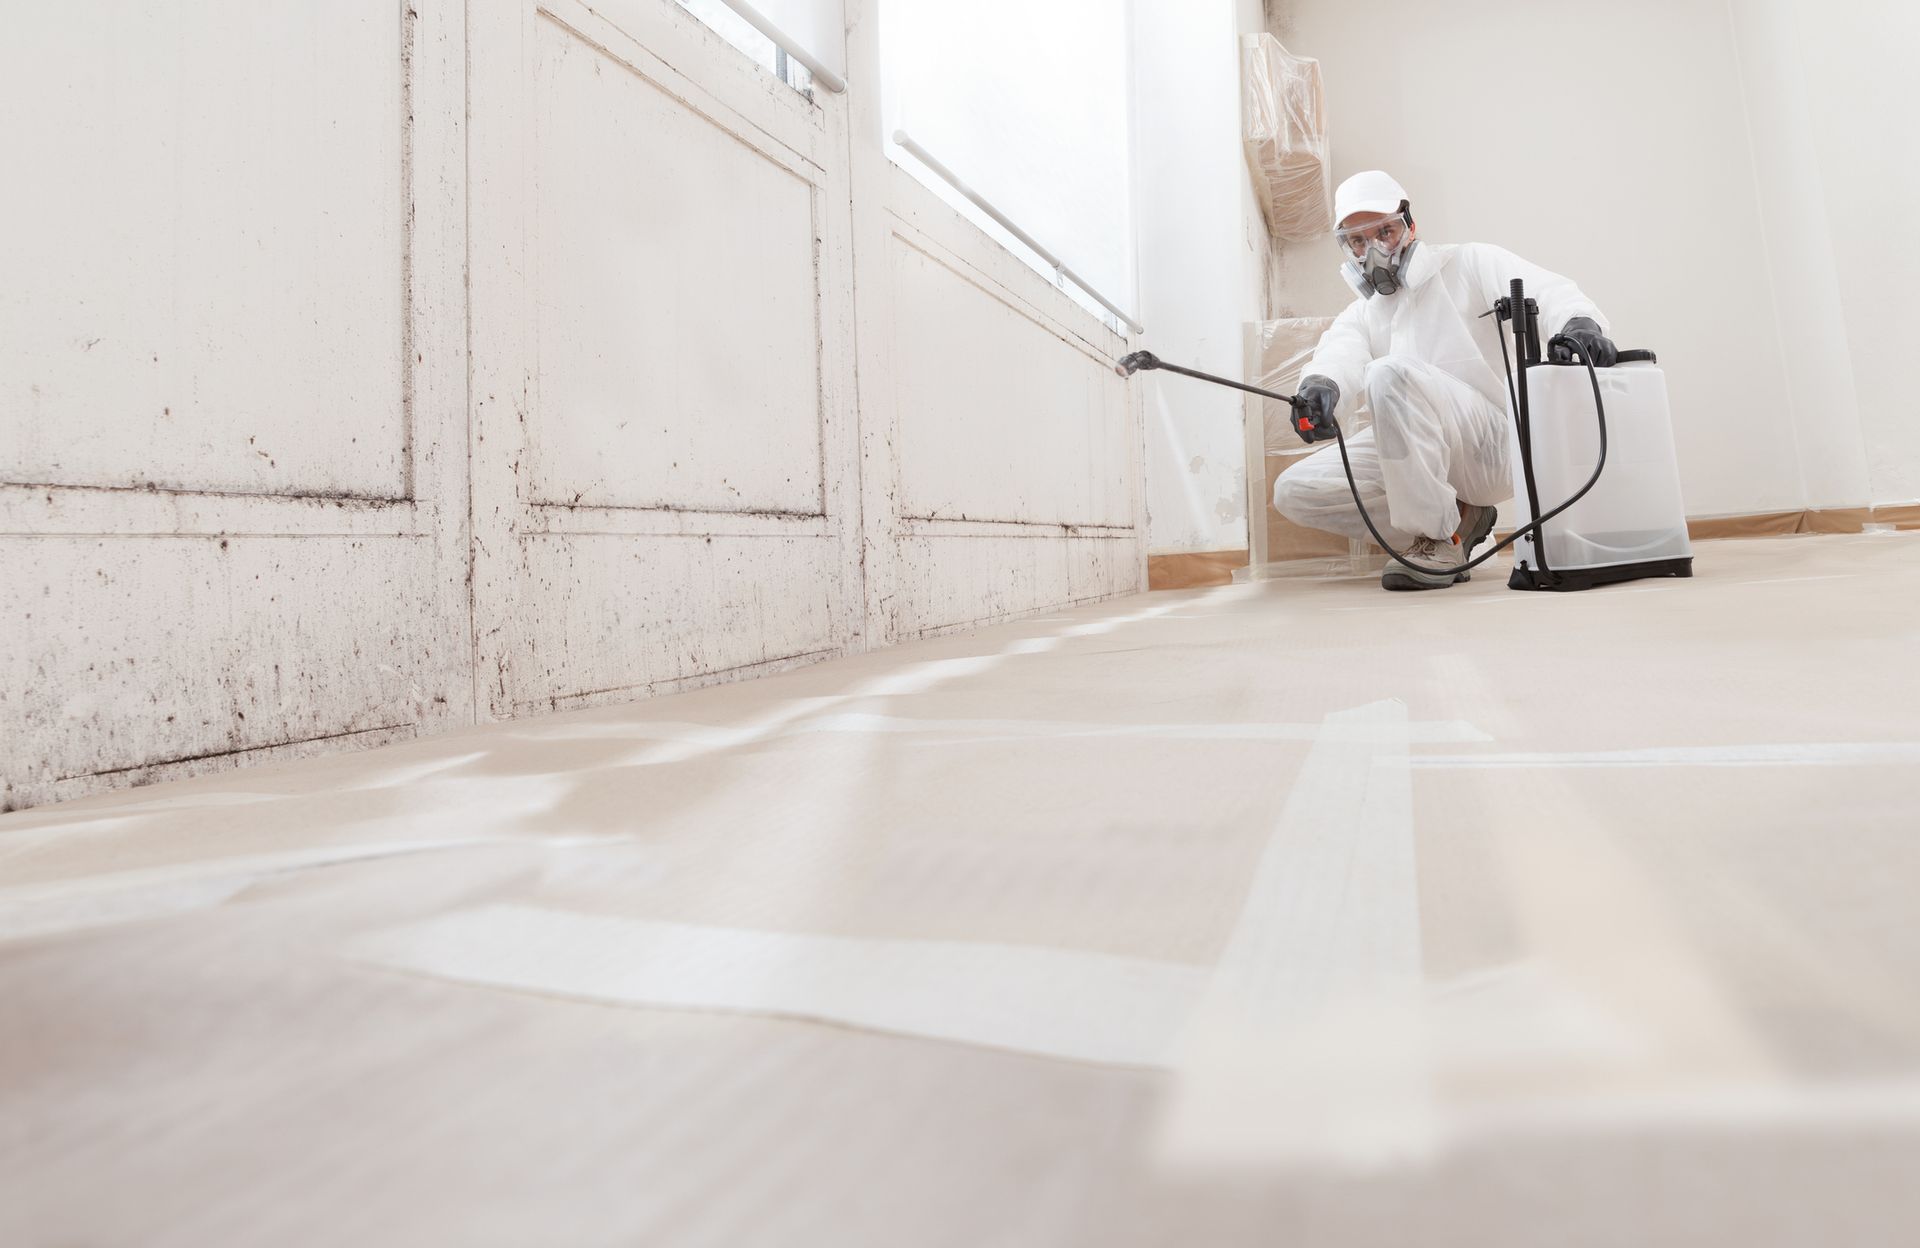
Disposing of Damaged Insulation
Disposing of damaged insulation is essential, especially if it has absorbed water and shows signs of mold or mildew. Start by carefully removing the insulation, making sure to wear protective gear like gloves and a mask to avoid direct contact with mold spores or other contaminants. Place the removed insulation into heavy-duty garbage bags, sealing them tightly to prevent the spread of any contaminants. It's important to dispose of the insulation according to local regulations, which might involve taking it to a specialized disposal facility. Proper disposal is crucial to prevent potential health hazards and to ensure that your home remains safe and clean.
Repairing and Replacing Wall Sections
After removal, it’s time to repair or replace the damaged sections. Make sure to choose the right materials and follow proper techniques.
Patching Small Areas
Patching small areas is a straightforward process that involves filling in the gaps left by damaged drywall. Start by applying a patching compound to the area, using a putty knife to spread it evenly. Once the compound is applied, allow it to dry completely before sanding it down to create a smooth surface. After sanding, apply a second coat if necessary, then sand again once it's dry. This process ensures the patched area blends seamlessly with the rest of the wall. A fresh coat of paint will finish the job, making the repair virtually invisible.
Replacing Larger Sections
Replacing larger sections of a wall requires more effort but is necessary if the damage is extensive. Begin by cutting a new piece of drywall to fit the area that needs replacement. Make sure the new piece is cut precisely to fit the gap left by the removed section. Secure the new drywall to the studs using drywall screws, making sure it is firmly in place. After securing the drywall, apply joint compound along the seams and over the screw holes. Once dry, sand the surface to ensure a smooth finish. Finally, apply primer and paint to match the surrounding wall, completing the repair.
Finishing and Painting the Wall
Once repairs are complete, finishing touches like sanding and painting will make your wall look as good as new.
Prepping the Surface for Paint
Prepping the surface is key to achieving a smooth and long-lasting paint finish. Start by sanding the repaired areas to ensure they are level with the rest of the wall. Use fine-grit sandpaper for the best results. After sanding, clean the wall with a damp cloth to remove any dust or debris. This step is important because dust can prevent the paint from adhering properly. Once the wall is clean and dry, apply a primer to the repaired sections. The primer helps the paint adhere better and ensures an even color across the entire wall.
Applying the Final Coat
Applying the final coat of paint is the last step in restoring your wall. Begin by choosing a paint that matches the existing color or opt for a fresh new shade. Use a high-quality brush or roller to apply the paint evenly, starting from the top and working your way down. For the best coverage, apply two thin coats rather than one thick coat. Allow the first coat to dry completely before applying the second. This method helps prevent streaks and ensures a smooth, professional finish. Once the paint is dry, your wall should look seamless, with no trace of the previous damage.
Preserving Your Walls After Water Damage
Taking the right steps to repair a water-damaged wall not only restores your home’s appearance but also prevents long-term problems. By identifying the damage, drying the area, removing compromised materials, and making repairs, you can save your walls from further deterioration. Whether you’re tackling minor issues or dealing with significant damage, following these steps will help you achieve a professional finish. Remember, when in doubt, contacting a water damage repair company can ensure the job is done right.