How to Repair Laminate Flooring Water Damage
Easy Guide to Fixing Laminate Flooring After Water Damage
Water damage to your laminate flooring can be a real headache, but taking quick action can help save your floors and prevent more problems. If you're feeling overwhelmed and not sure how to begin, getting advice from a water damage specialist is a smart move. This guide is here to help you through the steps of finding, fixing, and stopping water damage on your laminate floors. We aim to make the process clear and easy to follow, so you can tackle the issue without too much stress.
Identifying Water Damage on Laminate Flooring
Knowing what to look for can make all the difference in managing water damage on laminate floors. Signs like warping, swelling, and changes in color or texture are clear indicators that water has affected your flooring. Recognizing these signs early can help you take action to fix the problem before it gets worse.
Signs of Warping and Swelling
Warping and swelling are common reactions of laminate flooring to water exposure. Warping can make the floorboards bend or twist, no longer laying flat against the ground. Swelling, on the other hand, happens when the boards absorb water and expand, causing them to push against each other and create uneven surfaces. These changes not only affect the appearance of your floors but can also lead to more significant structural problems if not addressed quickly. Regular checks, especially in areas prone to moisture, can help you catch these issues early.
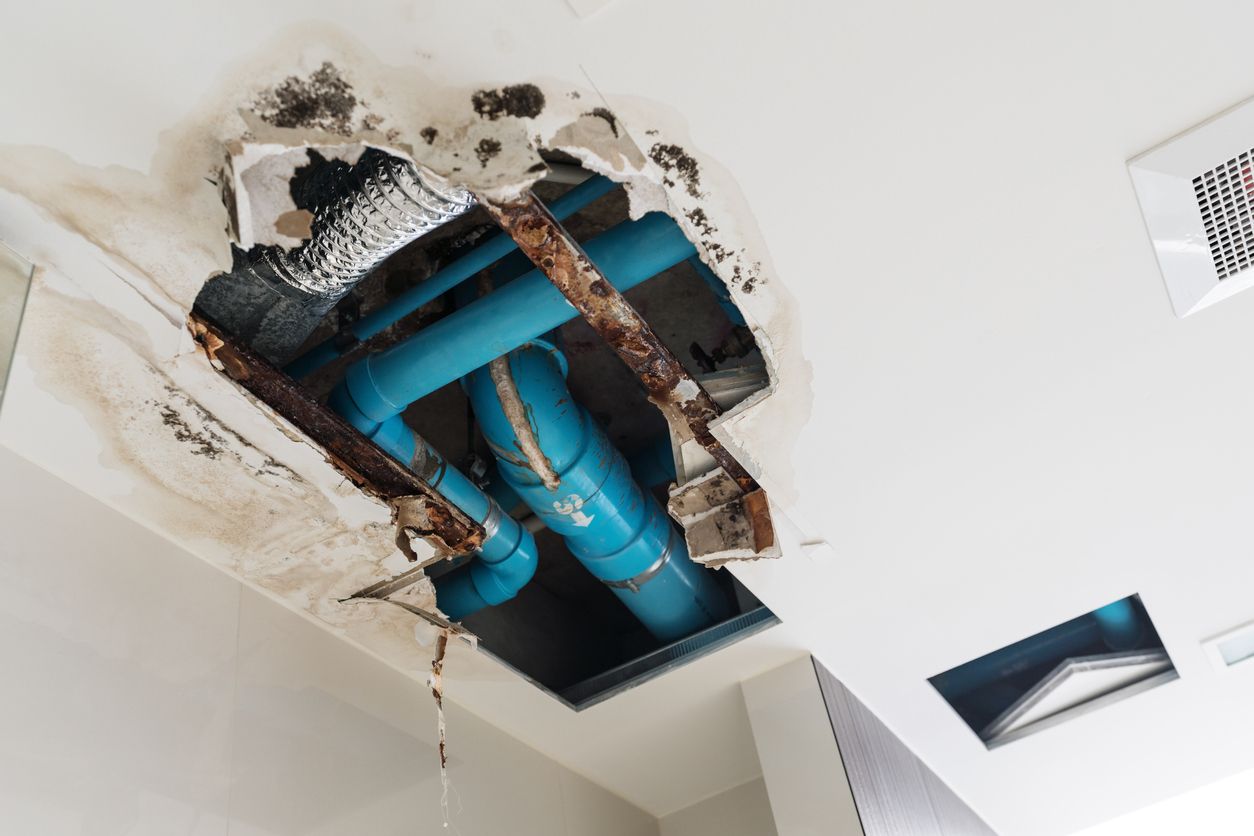
Spotting Discoloration and Mold
Another telltale sign of water damage is discoloration, which can appear as stains or faded areas on your laminate flooring. This is often caused by water sitting on the surface for an extended period or by moisture seeping in from below. Along with discoloration, mold growth is a serious concern.
Mold thrives in damp environments and can start to grow on or under laminate flooring that has been exposed to water. Spotting green, black, or white fuzzy or slimy patches on your floors is a clear sign of mold, which not only damages the laminate but can also pose health risks. Early detection and treatment of these signs can prevent further damage and maintain the quality and safety of your home’s flooring.
Immediate Steps to Take After Discovering Water Damage
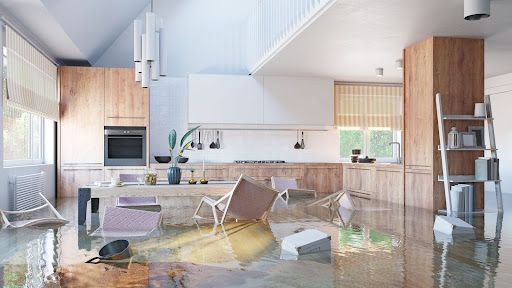
When you find water damage on your laminate floors, acting quickly is crucial. The right steps can significantly reduce the damage, helping you manage the situation more effectively. It's important to remove the water and start the drying process as soon as possible to protect your flooring.
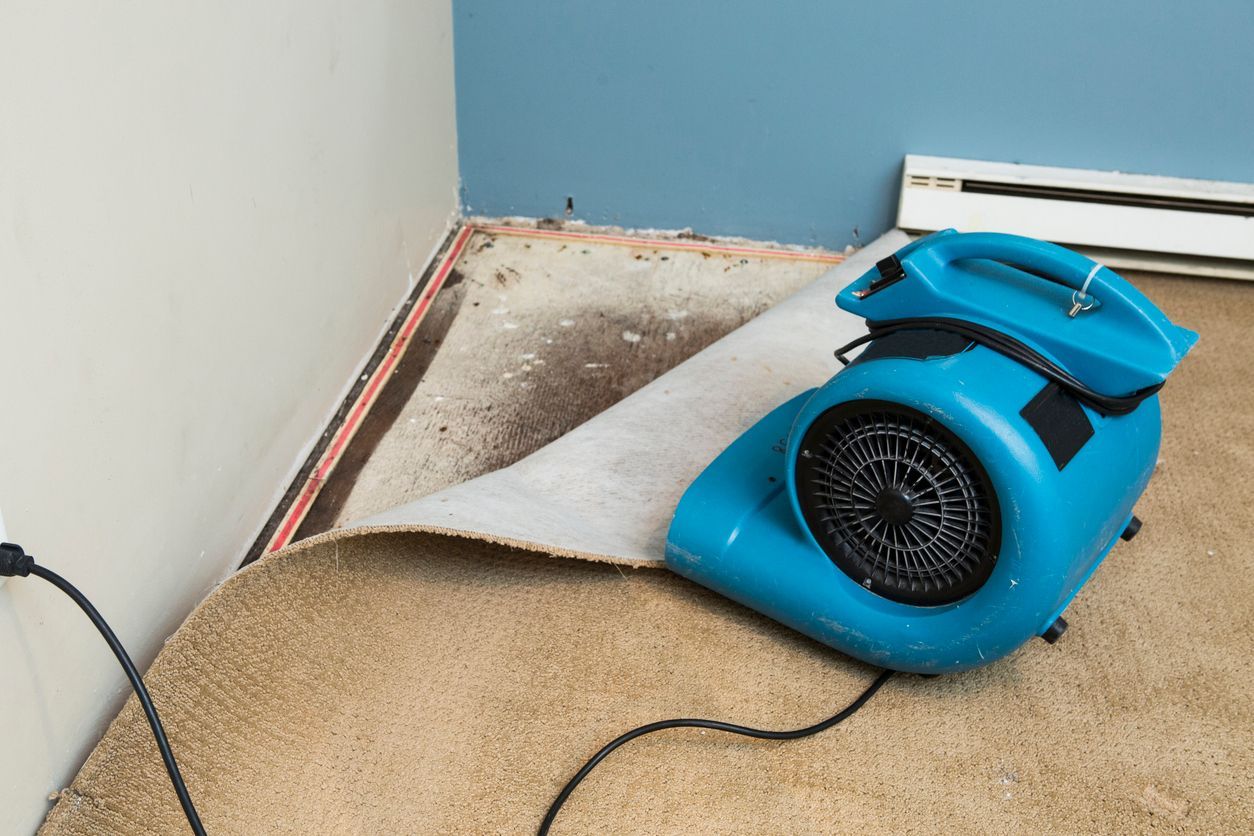
Removing Water Effectively
The first step is to get rid of any standing water immediately. Use towels, mops, or a wet vacuum to soak up the water, making sure to reach into corners and along edges where moisture can hide. For larger areas, a pump might be necessary. Once the standing water is removed, it's essential to clean the surface to prevent mold and mildew growth. A gentle cleanser that doesn't leave residue can be used to wipe down the affected areas. Remember, quick removal of water is key to minimizing the damage to your laminate floors.
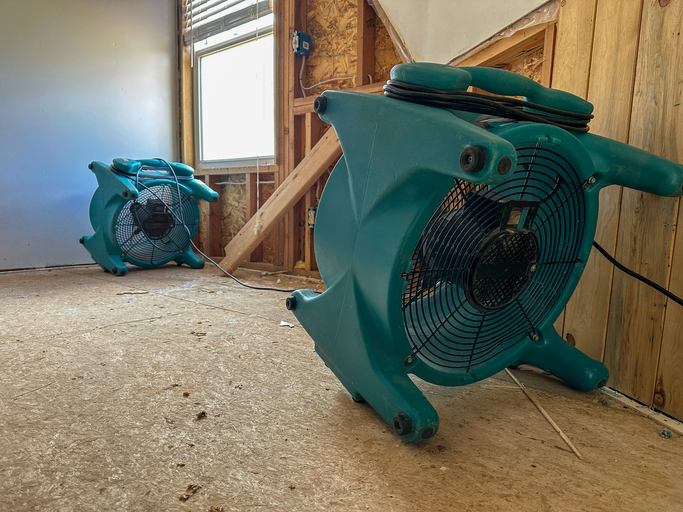
Drying Your Laminate Flooring
After removing the water, the next step is to dry your floors thoroughly. This can be done by increasing air circulation in the room with fans and opening windows if the weather allows. A dehumidifier can also be very effective in pulling moisture out of the air and materials in the room, including your flooring.
Be cautious with direct heat, as too much can cause further warping or damage to the laminate. It might take several days for the floors to dry completely. Check the progress regularly and continue using fans and dehumidifiers until the flooring is dry to the touch and there are no signs of moisture underneath.
Assessing the Extent of the Damage
After dealing with the immediate aftermath of water damage to your laminate flooring, it's crucial to assess the extent of the damage. This assessment will help you decide whether you can handle the repairs yourself or if you need to call in a professional. Understanding the severity and scope of the damage is key to making the right decision for your situation.
When to Call a Professional
There are several situations where it's best to call a professional. If the water damage is extensive, affecting multiple rooms or the structural integrity of your home, a professional's expertise is necessary. Also, if you find signs of mold or mildew that you can't clean thoroughly, it's important to get professional help to avoid health risks.
Professionals have the tools and knowledge to assess the damage accurately, perform necessary repairs, and ensure that your home is safe. If you're unsure about the extent of the damage or how to fix it, consulting with a professional can provide peace of mind and ensure that your flooring is restored properly.
DIY Damage Assessment
For those considering a DIY approach, carefully assessing the damage is crucial. Start by examining the affected area during the day with good lighting to ensure you don't miss any signs of damage. Look for warping, swelling, discoloration, and mold growth on and around the laminate planks. Also, check the subfloor if possible, as water can seep underneath, causing hidden damage.
If the affected area is small and the damage seems superficial, you might be able to manage the repairs yourself. However, it's important to be realistic about your skills and the time required. DIY repairs can be effective for minor damage, but they require patience and attention to detail to ensure a successful outcome.
Removing Damaged Laminate Planks
When laminate flooring gets water damaged, sometimes the best course of action is to remove the affected planks. This can prevent the damage from spreading and restore the look of your floor. It's important to approach this task carefully to avoid damaging the surrounding, undamaged planks.
Tools Needed for Removal
Before starting the removal process, gather the necessary tools to make the job easier and to protect the integrity of the good planks. You'll need a few key items:
A pry bar or a floor puller designed for laminate flooring.- A rubber mallet to gently tap and loosen the planks.
- A utility knife for cutting any sealant or adhesives.
- Gloves to protect your hands during the process.
- Safety glasses to protect your eyes from flying debris or dust.
Having the right tools on hand will help you to efficiently and safely remove the damaged planks without harming the rest of your flooring.
Step-by-Step Removal Process
Identify and isolate the damaged planks. Carefully inspect your floor to determine which planks are damaged and need to be removed. It helps to mark these with a piece of tape for easy identification.
Prepare the area: Remove any furniture or rugs from the area to have clear access to the damaged planks.
Start at the room's edge: If the damaged planks are near the edge of the room, begin with these. If not, you may need to remove some undamaged planks to reach the affected area. Use the pry bar or floor puller gently to lift the edge of the first plank.
Lift the planks: Once you've loosened the edge, use the pry bar to gently lift the plank. Be careful not to apply too much force, as this can damage the locking system or the edges of adjacent planks.
Continue the process: Move on to the next damaged plank, repeating the gentle prying and lifting process. If you encounter any adhesive or sealant holding a plank down, carefully cut through it with your utility knife.
Clean the area: After removing the damaged planks, clean the subfloor underneath to prepare it for new flooring. Ensure it's dry and free from debris or dust.
This methodical approach will help you remove damaged laminate planks efficiently while preserving the condition of the surrounding flooring. Remember, patience and careful handling are key to a successful removal.
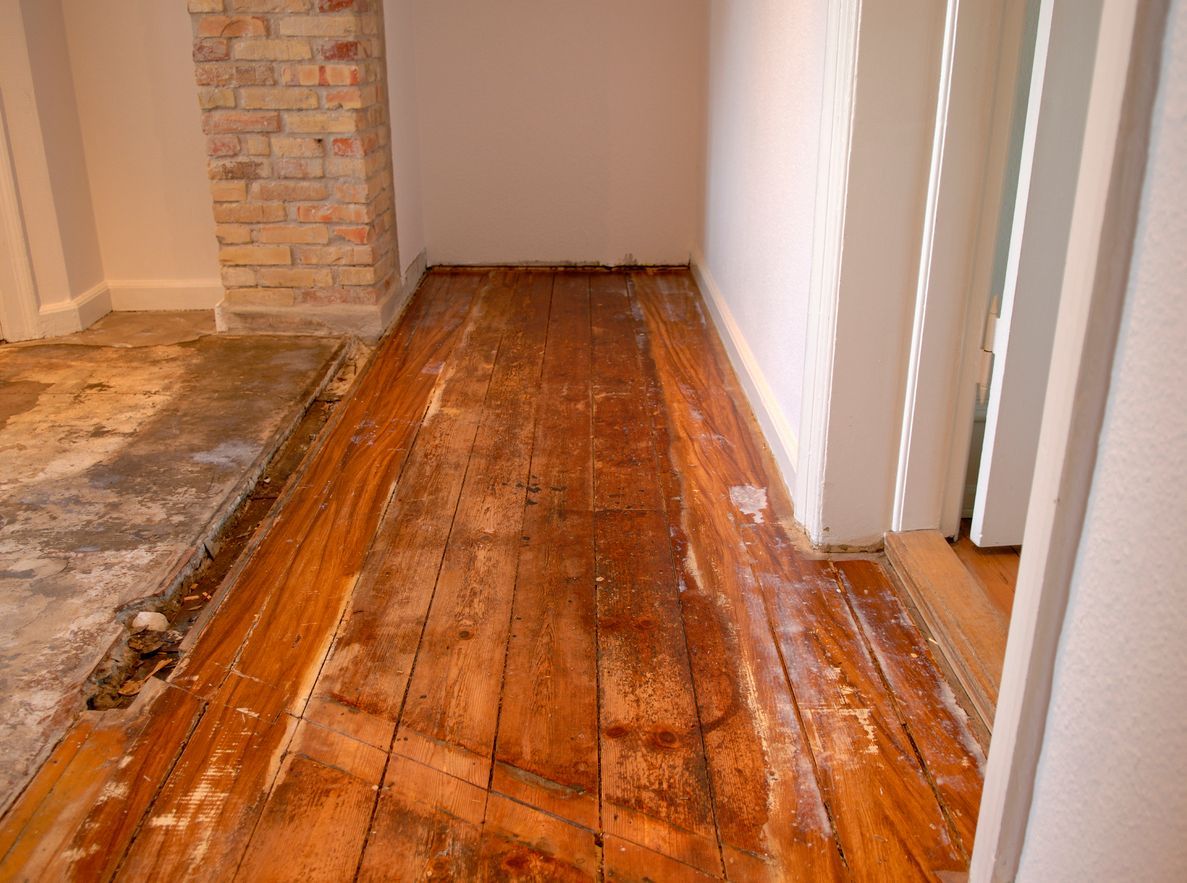
Preparing the Subfloor for Repairs
Before you lay new laminate planks, it's critical to ensure the subfloor beneath is clean, dry, and stable. This step is essential for preventing future issues and ensuring a smooth, durable finish for your repaired flooring. Proper preparation of the subfloor is a foundation for the longevity and appearance of your laminate flooring.
Cleaning and Drying the Subfloor
Once the damaged laminate planks are removed, the next step is to focus on the subfloor. Start by removing any debris, dirt, or remnants of adhesive and underlayment. A vacuum can help you get rid of the small particles, while a putty knife can be useful for scraping off stuck materials.
After cleaning, drying the subfloor is crucial, especially if it was exposed to moisture. Use fans and a dehumidifier to accelerate the drying process. Ensure the subfloor is completely dry before proceeding with any repairs. This might take some time, but it's a critical step to avoid trapping moisture under your new flooring, which could lead to mold growth or damage to the new planks.
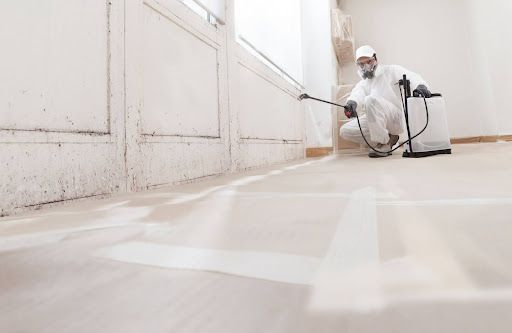
Checking for Mold and Mildew
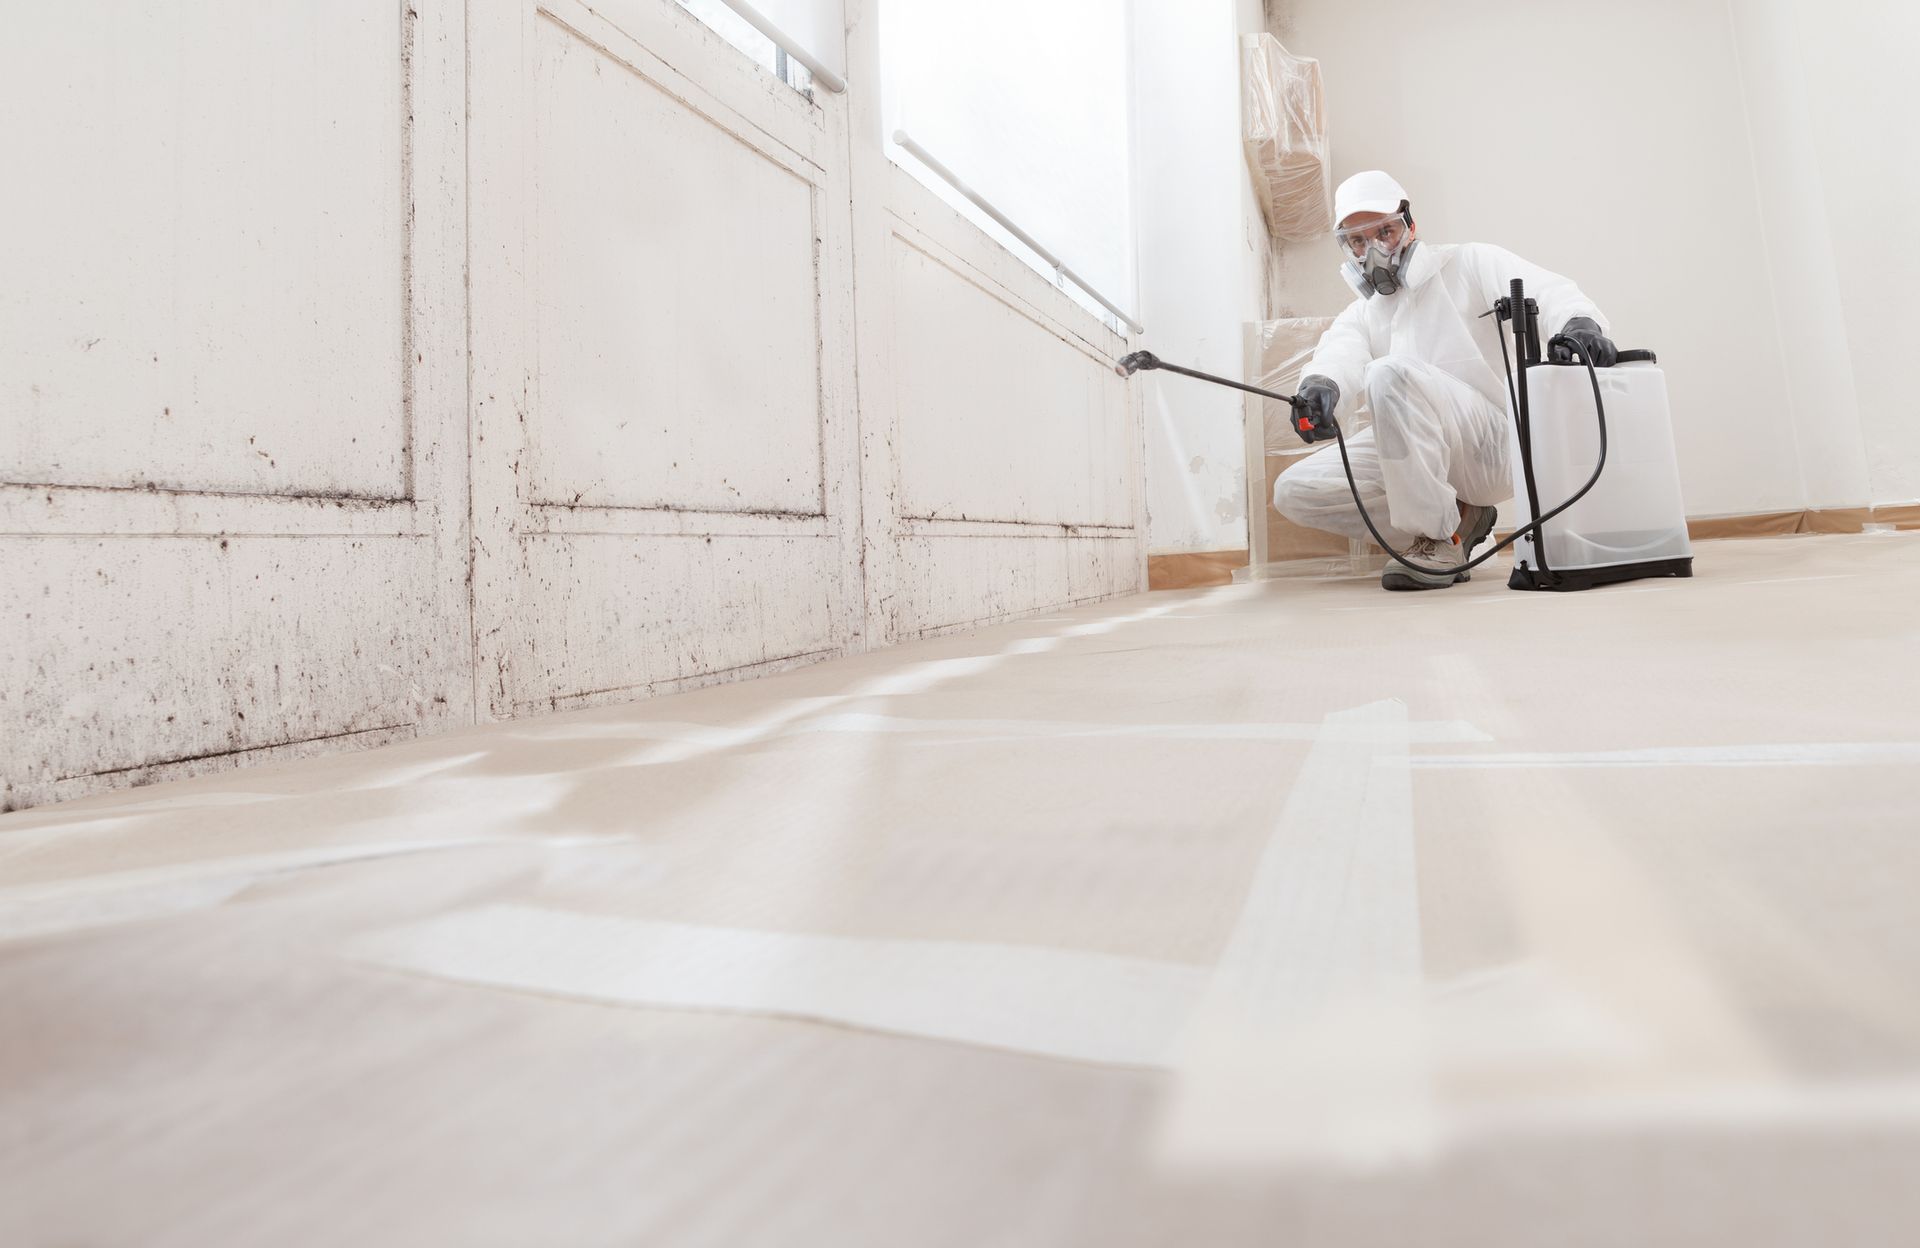
While cleaning and drying the subfloor, keep an eye out for signs of mold and mildew. These can appear as discolored patches or spots and might have a musty smell. Mold and mildew thrive in damp conditions, so their presence indicates moisture issues that need to be addressed before laying new flooring. If you find small areas of mold, you can clean them with a solution of water and vinegar or a mold-killing product.
However, for extensive mold infestations, it's best to call in professionals. They can safely remove the mold and advise on preventing future growth. Ensuring the subfloor is free from mold and mildew is not only important for the durability of your flooring but also for the health and safety of your home environment.
Replacing Laminate Planks
Once you've addressed any water damage and prepared your subfloor, replacing the damaged laminate planks is the next step. The goal is to integrate new planks so well that they blend seamlessly with the existing flooring, restoring the beauty and functionality of your space.
Finding Matching Laminate Planks
The key to a seamless repair is finding laminate planks that match your existing flooring in color, pattern, and texture. Start by checking if you have any leftover planks from the original installation. If not, take a piece of the damaged plank to a flooring store for a match. Consider the age of your flooring; products can be discontinued or vary by dye lot, making an exact match challenging.
If an exact match is impossible, look for planks that are as close as possible, or consider taking planks from a less noticeable area of your home, like a closet, to use in the repair area. For large areas, it might be worth considering replacing the entire room to ensure consistency.
Installation Tips for a Seamless Look
Proper installation is crucial for achieving a seamless look with your new laminate planks. Here are some tips:
Acclimate the new planks to your home's environment for at least 48 hours before installation to prevent future expansion or contraction.
Inspect the subfloor to ensure it's level, clean, and dry. Any unevenness can affect the alignment of the new planks.
Use the right tools, such as a tapping block and pull bar, to gently fit the planks together without damaging the edges.
Follow the manufacturer’s instructions for laying out and locking the planks. Pay special attention to the pattern alignment with adjacent rows to ensure the new planks blend in.
Maintain a consistent expansion gap around the room's perimeter as recommended by the manufacturer. This gap is usually hidden by the baseboard and allows for natural expansion and contraction.
Finish with the right trim and moldings to cover the expansion gaps and transition between different flooring types or levels, enhancing the overall look.
By carefully selecting and installing your replacement laminate planks, you can achieve a repair that looks intentional and maintains the aesthetic appeal of your flooring.
Preventing Future Water Damage
To safeguard your laminate flooring against future water damage, it's essential to adopt preventative measures. By following proper maintenance routines and considering waterproofing solutions, you can significantly reduce the risk of water damage and extend the life of your flooring.
Regular Maintenance Tips
Regular maintenance is key to keeping your laminate floors in top shape and preventing water damage. Here are some practical tips:
Clean spills immediately: Liquid spills should be wiped up as soon as they occur to prevent water from seeping between the planks.
Use appropriate cleaning methods: Avoid using wet mops or steam cleaners, which can introduce excessive moisture. Instead, opt for a damp cloth or a mop slightly moistened with a laminate floor cleaner.
Place mats at entrances: Mats can capture moisture and debris from shoes, reducing the amount of water and dirt that comes into contact with your flooring.
Maintain indoor humidity levels: Use a dehumidifier during humid months to keep humidity levels in your home between 30% and 50%, reducing the risk of moisture-related damage.
Regular inspections: Periodically check for signs of water damage, especially in areas prone to moisture, like around sinks, dishwashers, and doors. Catching and addressing issues early can prevent more significant damage.
Waterproofing Solutions
In addition to regular maintenance, there are waterproofing solutions and products designed to protect laminate flooring from water damage:
Use waterproof sealants: Certain sealants can be applied to the edges of laminate planks, providing a barrier against moisture. This is especially useful in high-risk areas like kitchens and bathrooms.
Consider waterproof laminate options: If you're installing new flooring or replacing damaged sections, look for laminate flooring designed with waterproof properties. These products offer enhanced protection against spills and moisture.
Install proper underlayment: A moisture-resistant or waterproof underlayment can provide an additional layer of protection between the subfloor and your laminate flooring. This is crucial in basements or ground-level floors where moisture can be a concern.
Ensure proper installation: A correctly installed laminate floor, with tight seams and adequate expansion gaps, can help prevent water from seeping between planks.
By implementing these maintenance tips and waterproofing strategies, you can help protect your laminate flooring from future water damage, maintaining its beauty and integrity for years to come.
When to Consider a Professional Flooring Restoration
Deciding whether to tackle floor repairs yourself or call in a professional can be challenging. Knowing when it's best to seek professional help can save you time, money, and ensure your flooring is restored correctly, especially after significant water damage.
Evaluating Damage Severity
The extent of the damage is a crucial factor in deciding whether to opt for DIY repairs or professional restoration. Here are some signs that indicate the need for professional help:
Widespread Damage: If multiple rooms or a large area of flooring is affected, the restoration process may be too complex for a DIY approach.
Structural Concerns: Water damage that reaches the subflooring or joists can compromise your home's structural integrity. Professionals can assess and address these issues safely.
Persistent Mold: If you find mold that keeps returning after cleaning, it might have penetrated deeper into your flooring or subflooring, requiring professional mold remediation.
Uncertain Origin: When you're unsure where the water is coming from, professionals can help identify and fix the source of the moisture, preventing further damage.
Benefits of Professional Restoration
Hiring professionals for flooring restoration comes with several advantages:
Expertise and Experience: Professionals have the knowledge and tools to assess damage accurately, choose the best restoration method, and execute the repairs efficiently.
Comprehensive Solutions: From identifying the moisture source to fixing subfloors and matching your existing flooring, professionals provide a one-stop solution for all your restoration needs.
Time and Cost Efficiency: Although hiring professionals involves upfront costs, their ability to quickly and effectively restore your flooring can save money in the long run by avoiding further damage and costly mistakes.
Peace of Mind: Knowing that experienced professionals are handling your flooring restoration can relieve the stress of DIY repairs and ensure that your home is safe, healthy, and well-maintained.
If you're facing significant water damage, evaluating the severity and considering these benefits can help you decide when it's time to call in a professional flooring restoration service. Their expertise can be invaluable in bringing your floors back to their former glory and protecting your home from future damage.
Bring Back the Beauty of Your Laminate Flooring
Repairing water-damaged laminate flooring doesn't have to be a daunting task. With the right approach and tools, you can restore your floors to their former glory. Remember, the key is to act quickly and not hesitate to seek professional advice when needed. Your floors are an integral part of your home, and taking care of them ensures a safe and beautiful living space for years to come.
Need Professional Help with Your Water Damaged Floors?
Don't let water damage overwhelm you. Verg Restoration is here to bring your floors back to life with professional expertise and care. Located at 8618 NE, 13th Ave., Vancouver, WA, 98665, US, we're your local professionals in flooring restoration. Whether it's minor repairs or comprehensive restoration, our team is ready to help. Call us today at (360) 818-4644 or visit our website at
https://www.vergrestoration.com/ to learn more about our services and how we can assist in restoring the beauty and functionality of your flooring. Don't wait, reach out to Verg Restoration and take the first step towards reviving your floors today!