How to Repair Hardwood Floor Water Damage
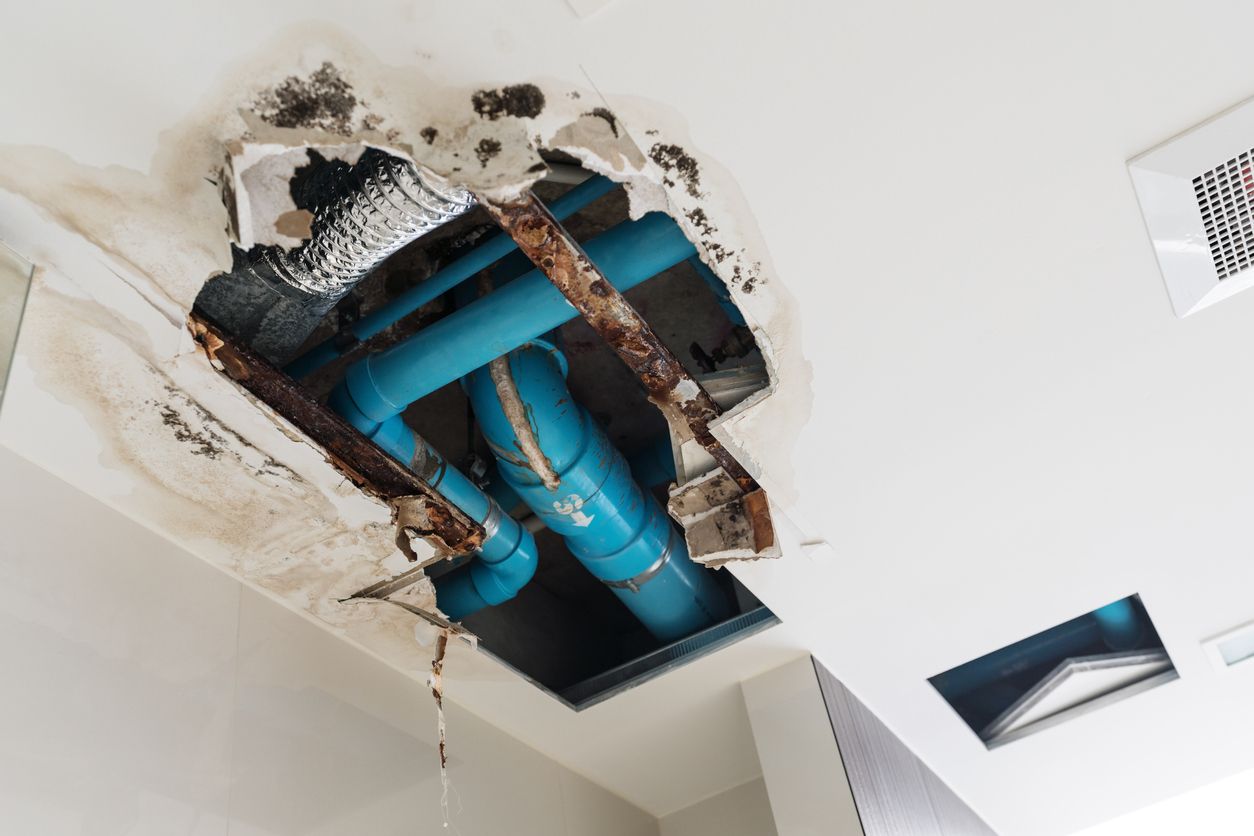
Water damage on hardwood floors can be a distressing sight for any homeowner. Whether it's from a leaky roof, overflowing appliances, or a burst pipe, the impact on your floors can be significant, leading to warping, staining, and decay. Addressing this damage promptly is crucial to preserving the aesthetics and functionality of your flooring. In such instances, consulting with a professional restoration company can provide you with the expertise needed to restore your floors effectively. They will assess the extent of the damage and recommend the best course of action to bring your hardwood floors back to life.
Identifying Signs of Water Damage
Early detection of water damage can save your floors. Look for discoloration, warping, or a musty odor as common indicators.
What Does Water Damage Look Like?
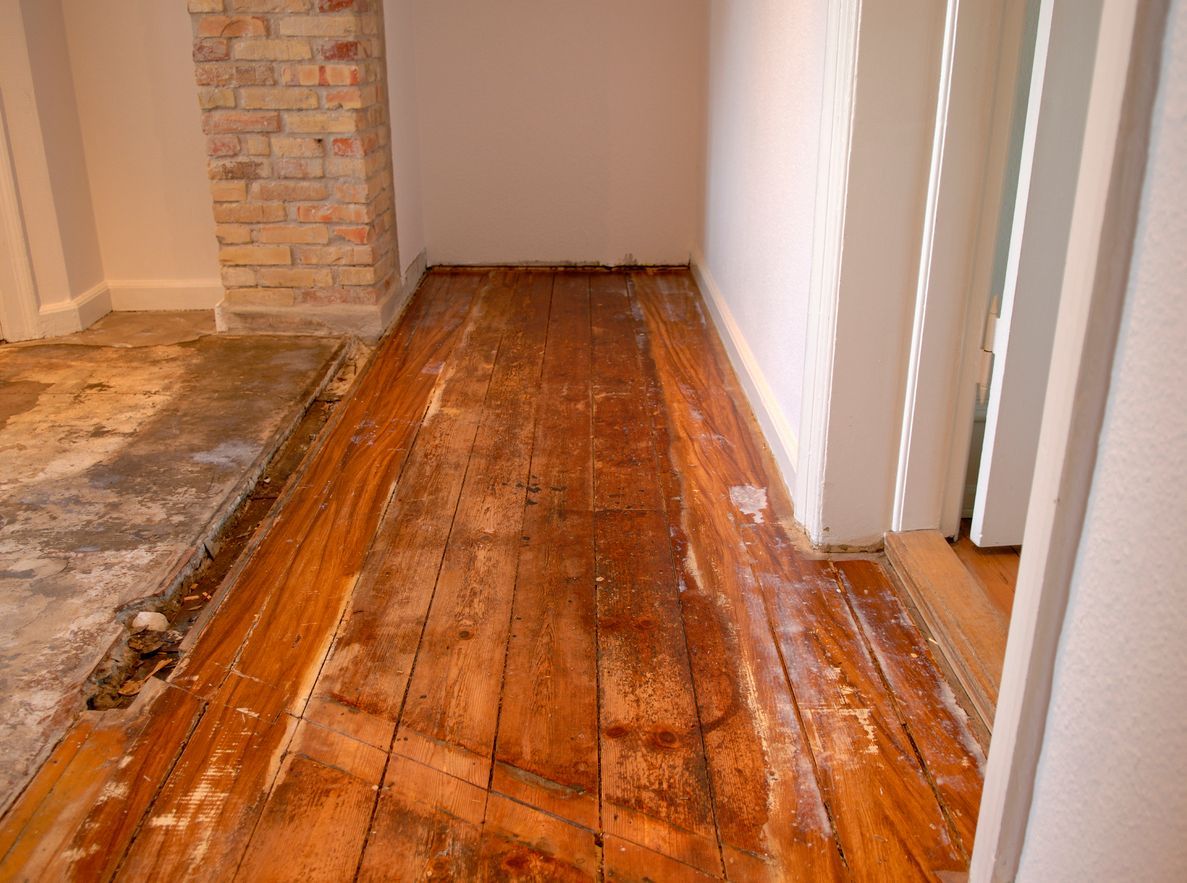
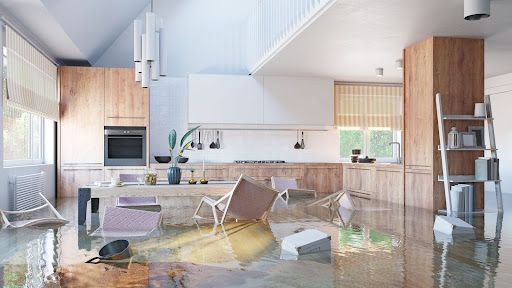
Water damage on hardwood floors typically presents itself in several visible forms. You might notice staining—darker or lighter spots that weren't there before—which can indicate moisture has seeped into the wood. Warping or buckling is another clear sign, where the boards lift from their base and curve upward or twist, creating uneven surfaces. Both of these conditions suggest that water has penetrated the wood, necessitating prompt attention to prevent further damage.
Smell and Other Sensory Clues
Beyond visual cues, your senses can alert you to potential water damage. A musty odor often accompanies mold or mildew growth, which thrives in damp conditions under your flooring. Feeling the texture of the wood can also help; areas that are soft to the touch may be rotting from prolonged water exposure. If you walk across the floor and hear unusual creaking sounds, it might indicate that the wood has absorbed moisture and is expanding. All these sensory clues help identify the early stages of water damage.
Initial Steps to Take Immediately After Damage
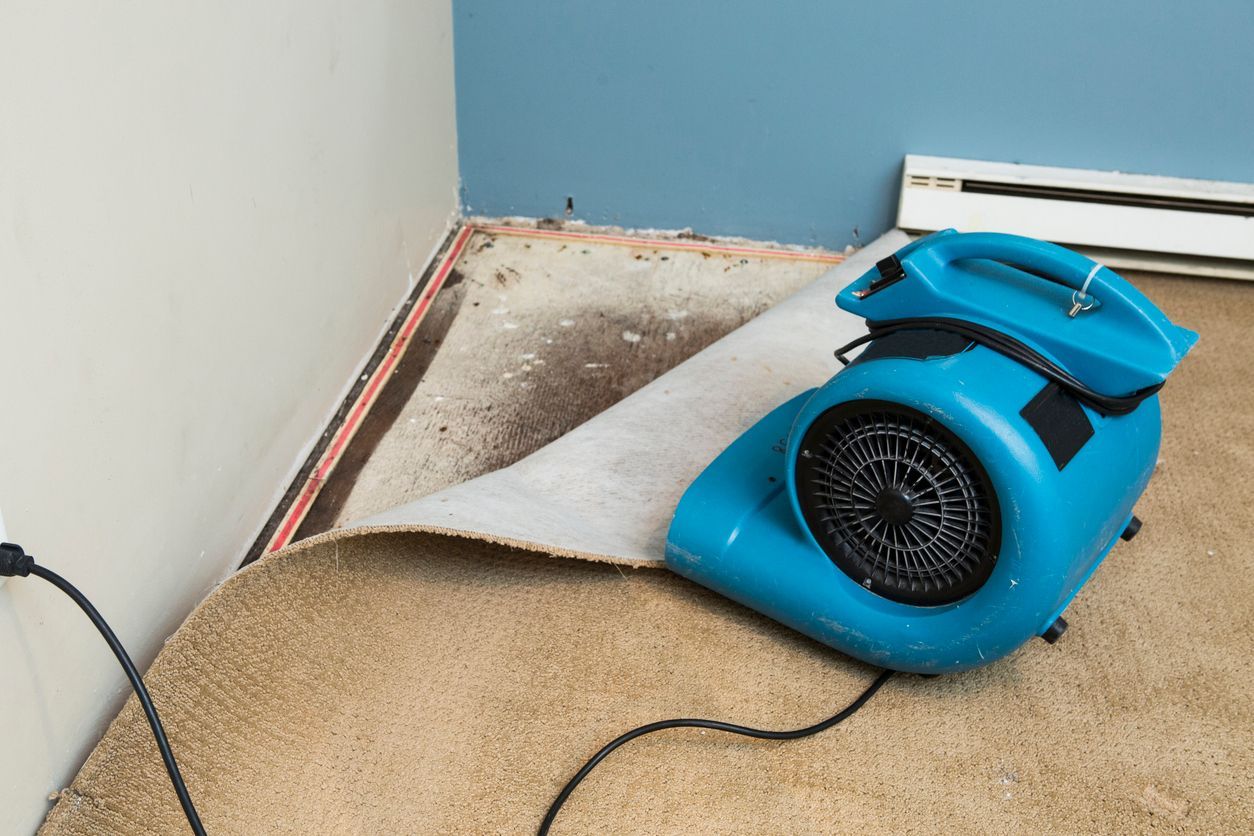
When you notice damage, act quickly to minimize the impact. Remove water and moisture using towels and fans.
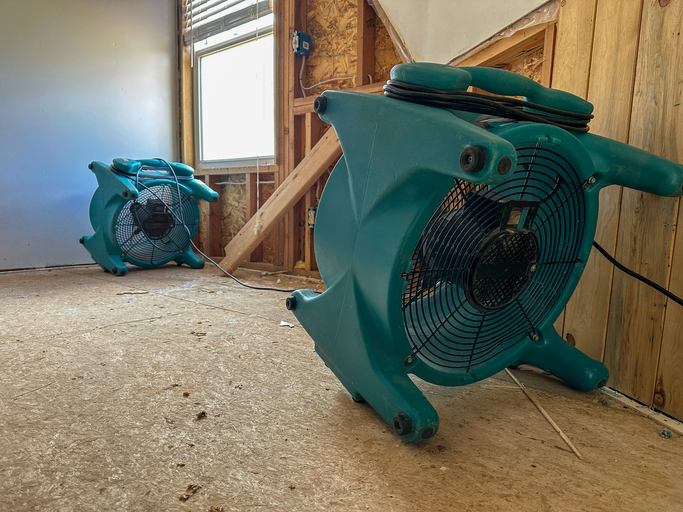
How to Dry Water-Damaged Floors
If your hardwood floors have water damage, starting the drying process immediately is vital. First, mop up as much standing water as possible with towels or a mop. Next, set up fans across the affected area to circulate air and encourage evaporation. Dehumidifiers are also highly effective in pulling moisture from the air and surrounding materials. Keep these running for several days until the floor is thoroughly dry. It's important to monitor the progress and adjust your tools accordingly to ensure thorough drying.
Tools and Materials You'll Need
For effective drying of water-damaged floors, you'll need several key tools and materials. Gather large absorbent towels or a wet-dry vacuum to remove standing water. Fans and at least one dehumidifier are essential for air circulation and moisture removal. Additionally, consider using a moisture meter to accurately check the dampness levels in your wood floors and subfloor. Having these tools on hand can speed up the drying process and reduce the risk of mold and further damage to your hardwood floors.
Assessing the Extent of the Damage
Evaluating the damage thoroughly helps in planning the repair process. Some damage might require professional assessment.
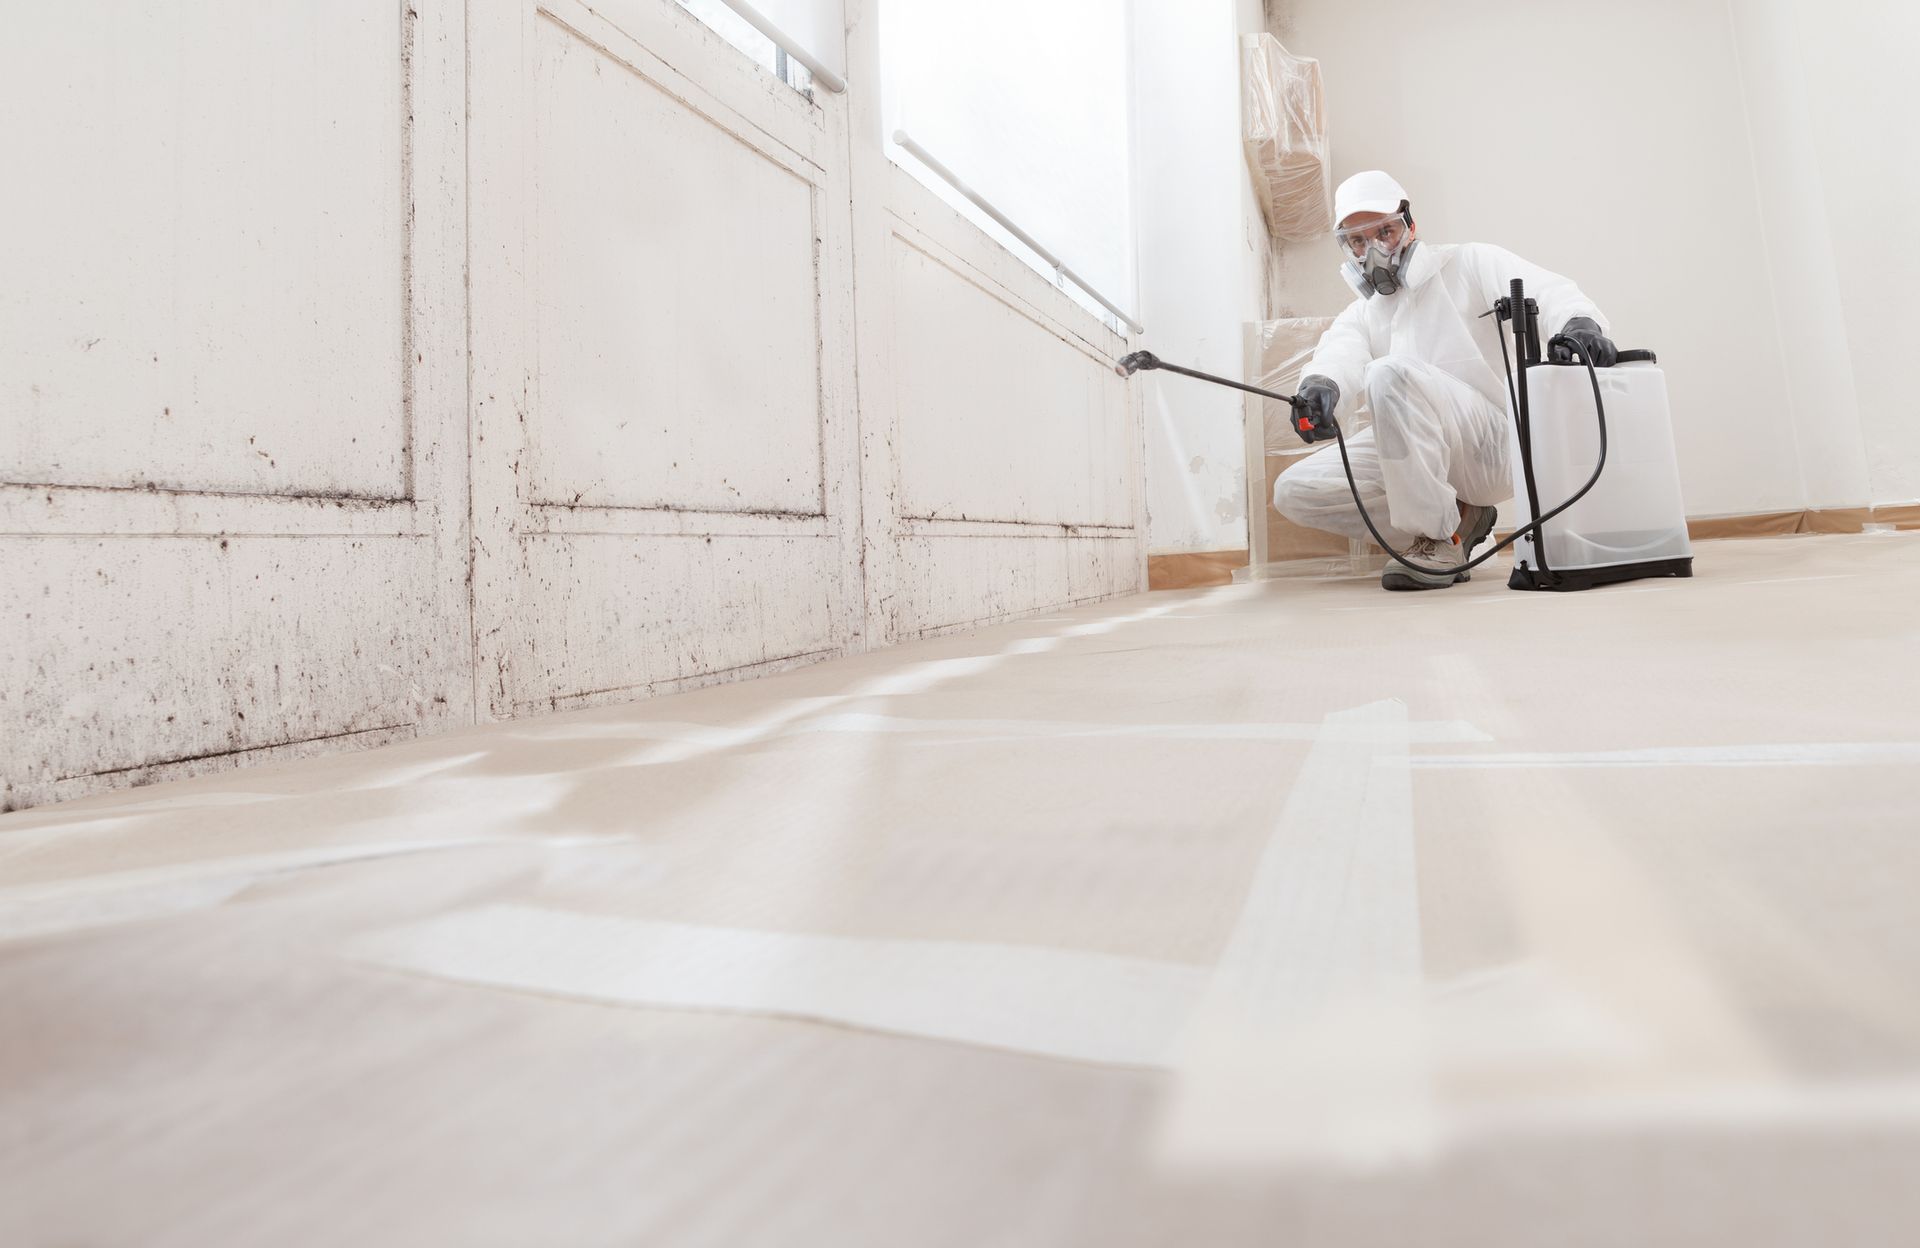
When to Call a Professional
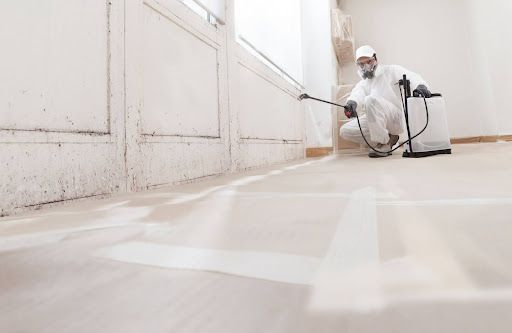
When the water damage to your hardwood floors is extensive or if you're unsure about the extent of the damage, it's wise to call a professional. Professionals can assess the structural integrity of the floor and identify hidden moisture that can lead to long-term issues like mold or decay. If the water has been standing for a long time, or if the damaged area is large, these are clear signs that professional help is needed. They have the tools and expertise to handle complex situations effectively.
DIY Assessment Tips
For a basic assessment of water-damaged hardwood floors, start by checking how deep the water has penetrated. Use a screwdriver to gently probe the edges of the planks near the damaged area; if it feels soft or spongy, the water has caused significant damage. Look for signs of discoloration and buckling in the wood. It’s also helpful to measure the moisture content in different areas of the floor with a moisture meter. This tool can help you understand the severity of the water damage across different sections of your flooring.
Removing Damaged Floor Sections
Sometimes, removing warped or severely damaged planks is necessary to prevent further issues.
Techniques for Removing Hardwood Planks
To remove damaged hardwood planks, start by identifying the affected area and clearing any furniture or rugs. Use a circular saw to cut into a damaged plank, being careful not to damage adjacent good wood. Pry up the cut pieces with a chisel or crowbar, working gently to avoid damaging the subfloor. If planks are glued down, a heat gun can help loosen the adhesive. This method allows you to selectively remove only the damaged planks without disrupting the entire floor.
Disposing of Damaged Hardwood
Proper disposal of damaged hardwood is important to avoid potential hazards. First, check with local waste management services for guidelines on disposing of construction materials like hardwood. If the wood is untreated and unpainted, it may be suitable for recycling or could be used as firewood if completely dry. However, if the wood has mold or mildew, it should be bagged and disposed of as general waste to prevent the spread of spores. Always wear protective gear when handling and transporting damaged materials.
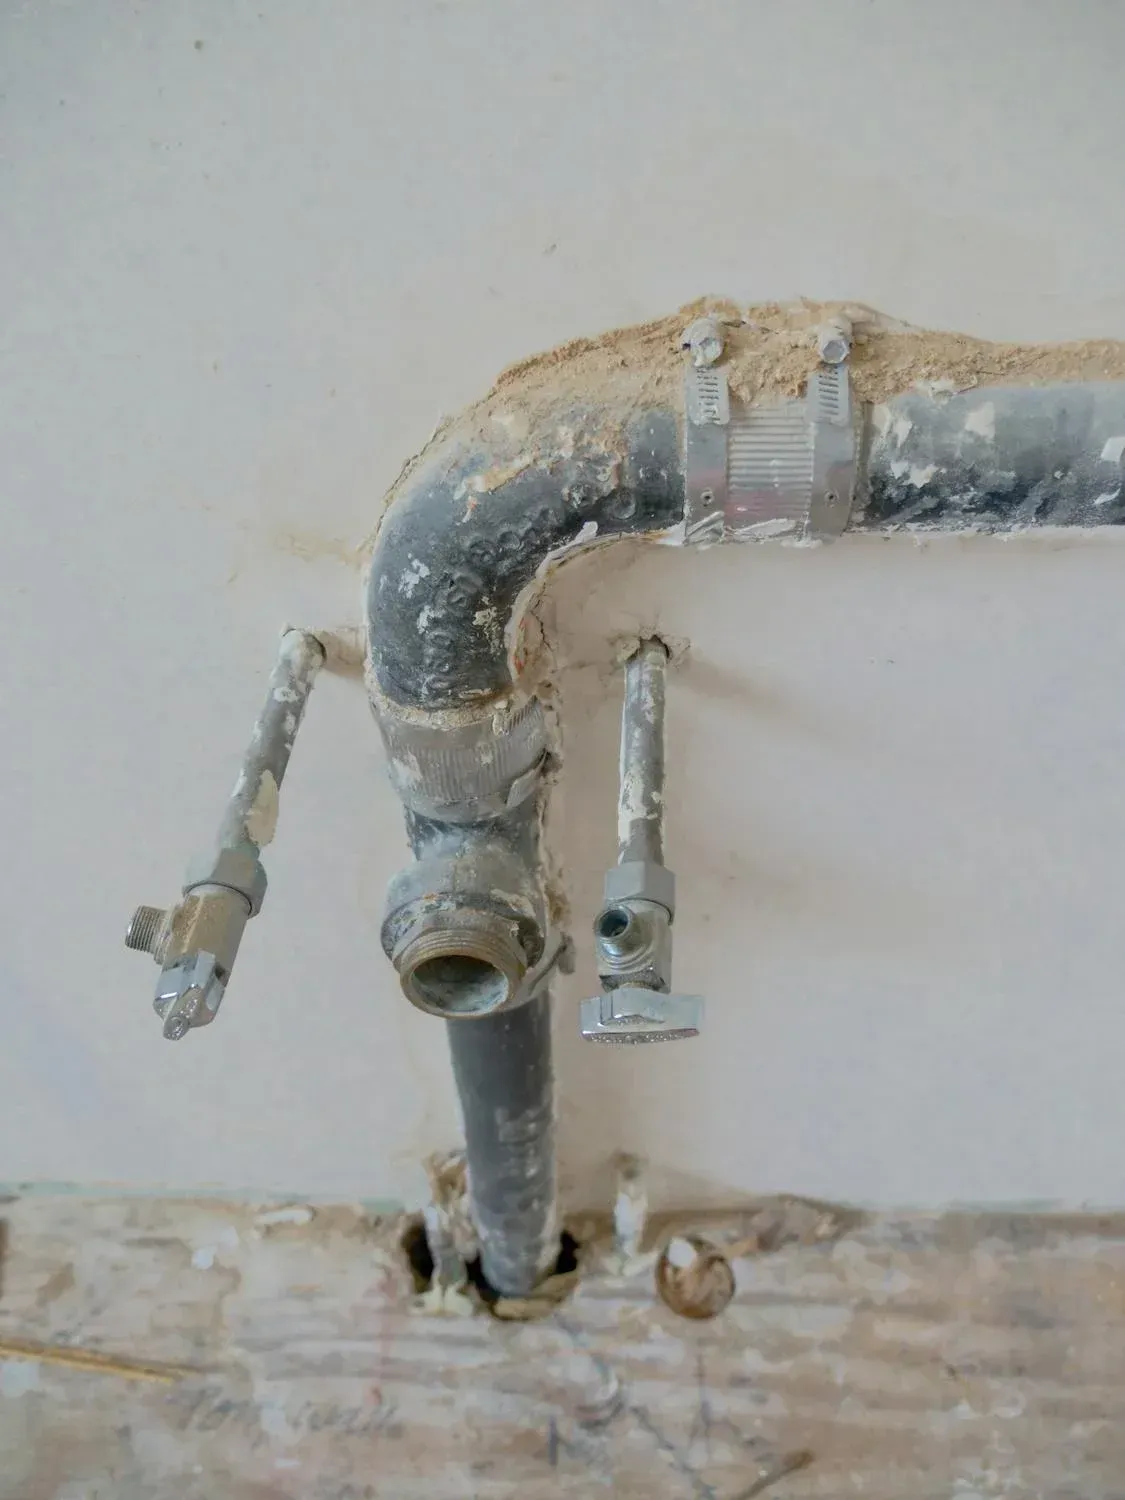
Preparing the Subfloor for Repairs
Ensuring the subfloor is dry and intact is crucial before new hardwood can be installed. This step prevents future issues like warping or mold growth under your new flooring.
Checking Subfloor Moisture Levels
It's essential to confirm that the subfloor is completely dry before proceeding. Using a moisture meter, measure the moisture levels in different sections of the subfloor. You should aim for a moisture content of less than 12% to ensure the wood will not distort in the future. Pay special attention to areas near walls and locations where the water damage was most severe. If the moisture readings vary widely, continue drying the area and recheck until the levels stabilize across the entire subfloor.
Repairing the Subfloor
If your subfloor is dry, the next step is to check for structural integrity. Thoroughly clean the subfloor by removing debris, dust, and old adhesive, which could affect the new installation. Inspect for signs of damage such as warping, cracks, or soft spots. For minor unevenness, apply a self-leveling compound that will provide a flat surface. More severe damage, like deep cracks or rot, might require replacing sections of the subfloor. A solid and even subfloor is crucial for the effective installation of new hardwood and will help ensure its durability and stability.
Choosing the Right Replacement Hardwood
To ensure a uniform appearance across your floor, it's important to carefully match new hardwood planks with the existing flooring. Consider both the type of wood and its finish to achieve a seamless integration.
Finding the Perfect Hardwood Match
When choosing new hardwood planks, it’s essential to match them closely with your existing floor. Begin by identifying the species of wood used in your current flooring; this is often indicated on receipts or installation records. If that’s not possible, take a sample to a flooring expert who can assist you in matching the type. Additionally, consider the age of the wood, as color can change over time due to exposure to sunlight and air.
Considerations for Wood Type and Finish
Choosing the right type of wood and finish for your replacement hardwood involves considering both practical and aesthetic factors. Hardness is crucial; opt for a wood species that matches the durability of your existing floors to ensure uniform wear. The finish is just as important as the type of wood. Whether it's gloss, semi-gloss, or matte, the finish should closely mimic your existing floor to blend seamlessly. Also, take into account any stain colors that need to be matched for the best visual integration.
Installing New Hardwood Planks
Proper installation of new planks is crucial for a seamless look and long-lasting repair. Ensure that each step is handled with precision to avoid discrepancies in the appearance and integrity of your flooring.
Techniques for Seamless Installation
To achieve a seamless installation of your new hardwood planks, start by acclimating the wood to the room's humidity for a few days to prevent future warping or gaps. When laying the planks, ensure they are tightly fitted against each other, staggering the seams to enhance stability and visual appeal. Use a tapping block to gently but firmly fit each plank into place, minimizing gaps and ensuring a flush finish. Always check for alignment and flatness as you progress, making adjustments as necessary.
Tools Required for Installation
The right tools are essential for a successful installation of hardwood planks. You will need a measuring tape and a pencil for accurate placement and cutting. A saw, either a circular saw or a miter saw, is crucial for making precise cuts according to the room's dimensions. A rubber mallet and a tapping block help in fitting the planks snugly without damaging them. Lastly, a level or a straightedge will ensure that the planks lay flat and even across the floor, preventing uneven surfaces.
Preventing Future Water Damage
To effectively shield your hardwood floors from potential water damage, it's important to adopt a series of preventive measures. Implementing consistent care and using the right products can make a significant difference in maintaining the integrity of your flooring.
Regular Maintenance Tips
Regular maintenance is key to preventing water damage to hardwood floors. Clean spills immediately to prevent water from seeping into the seams. Regularly check for leaks around the house, particularly in areas prone to moisture like the kitchen, bathroom, and near windows. Use rugs and mats in high traffic areas to minimize direct exposure to water and dirt, which can also contribute to moisture damage. Scheduling a routine inspection of your home's plumbing can also preempt water issues that might not be immediately obvious.
Protective Measures and Products
To further safeguard your hardwood floors from water damage, consider using protective finishes and sealants that repel water. Polyurethane coatings provide a barrier that prevents water from penetrating the wood surface. For added protection, place floor mats at all exterior doorways to catch water before it reaches the hardwood. Silicone-based products can be applied to gaps and edges to seal out moisture. Additionally, maintaining optimal indoor humidity levels (between 30% and 50%) will help preserve the wood and prevent the excessive expansion and contraction that leads to damage.
Lasting Solutions for Water-Damaged Floors
Repairing water-damaged hardwood floors can be a daunting task, but with the right approach, it can be done effectively. The key is to act quickly, assess the damage accurately, and undertake the necessary repairs or replacements. Ensuring your floors are protected from future incidents will help maintain their beauty and durability for years to come.
Contact Verg Restoration Today
If your property has suffered water damage, don't hesitate to contact Verg Restoration. Located at 8618 NE, 13th Ave, Vancouver, WA, 98665, our team is ready to help restore your precious surfaces to their former glory. Call us at (360) 818-4644 or visit
https://www.vergrestoration.com/ for more information on our services. Prompt action can prevent further damage and save you time and money on repairs.